Akira Bomb - Breakdown
Table of contents
Introduction
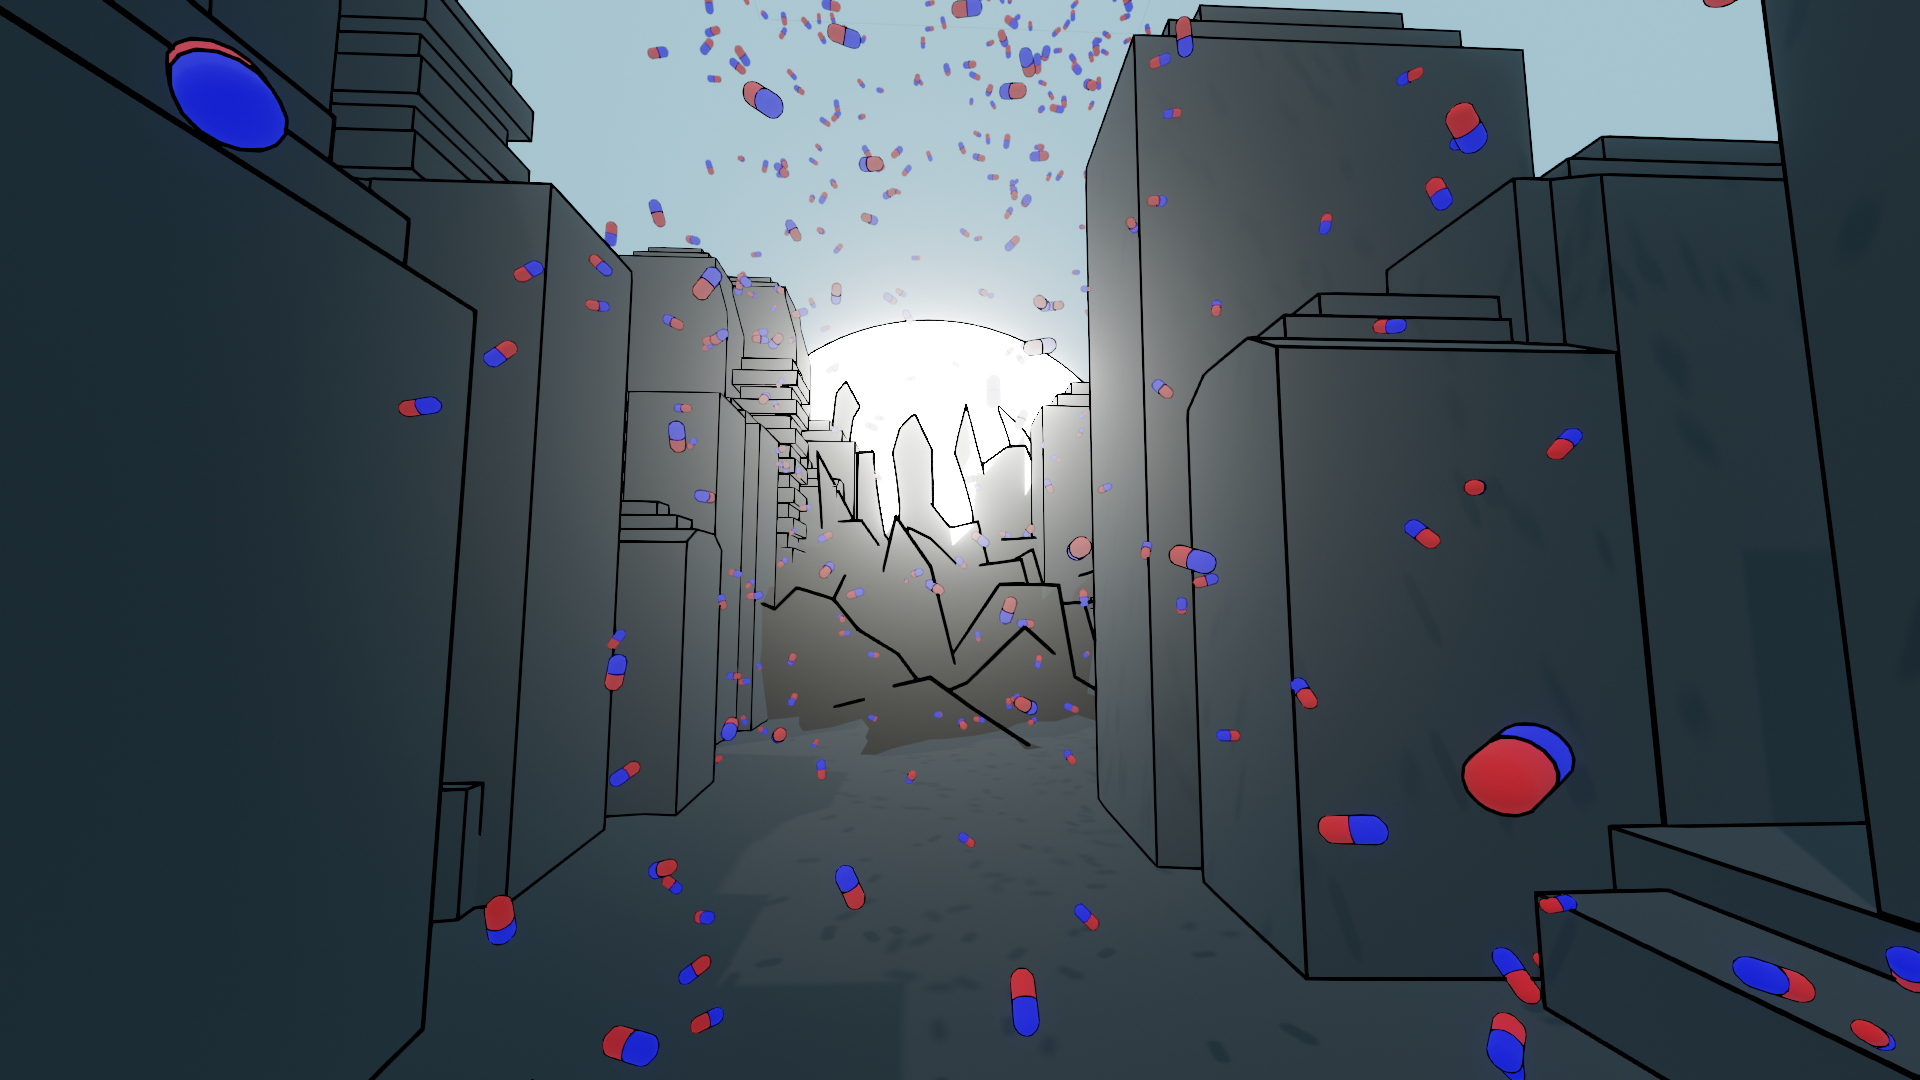
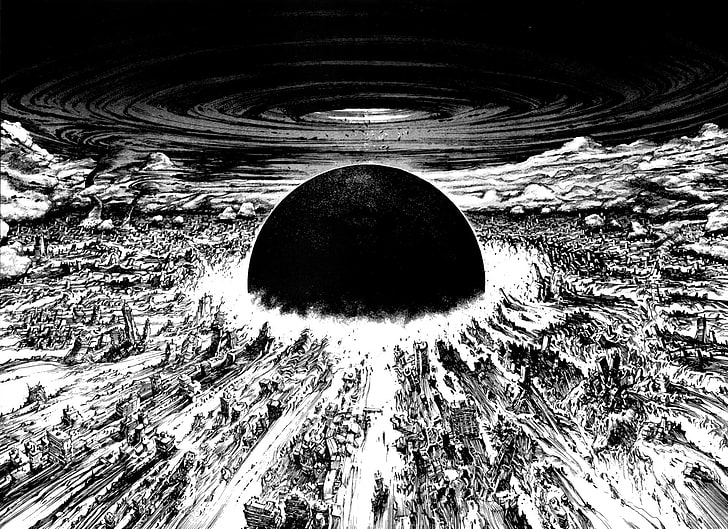
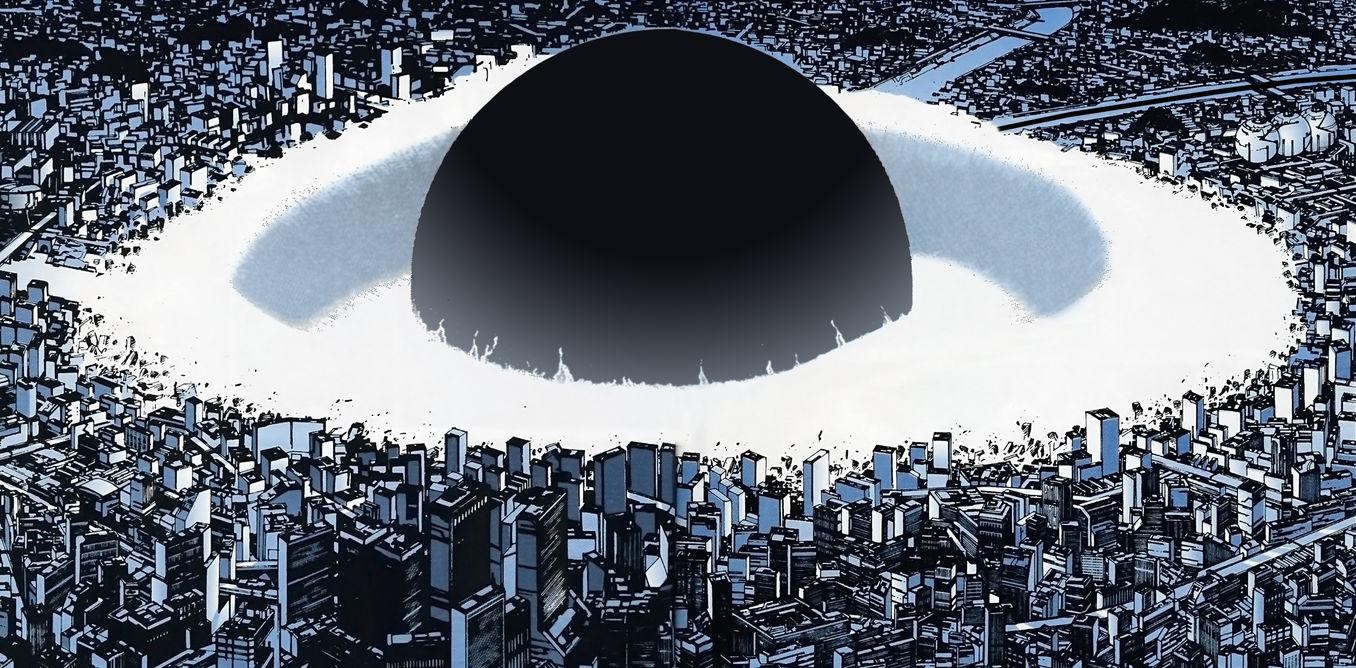
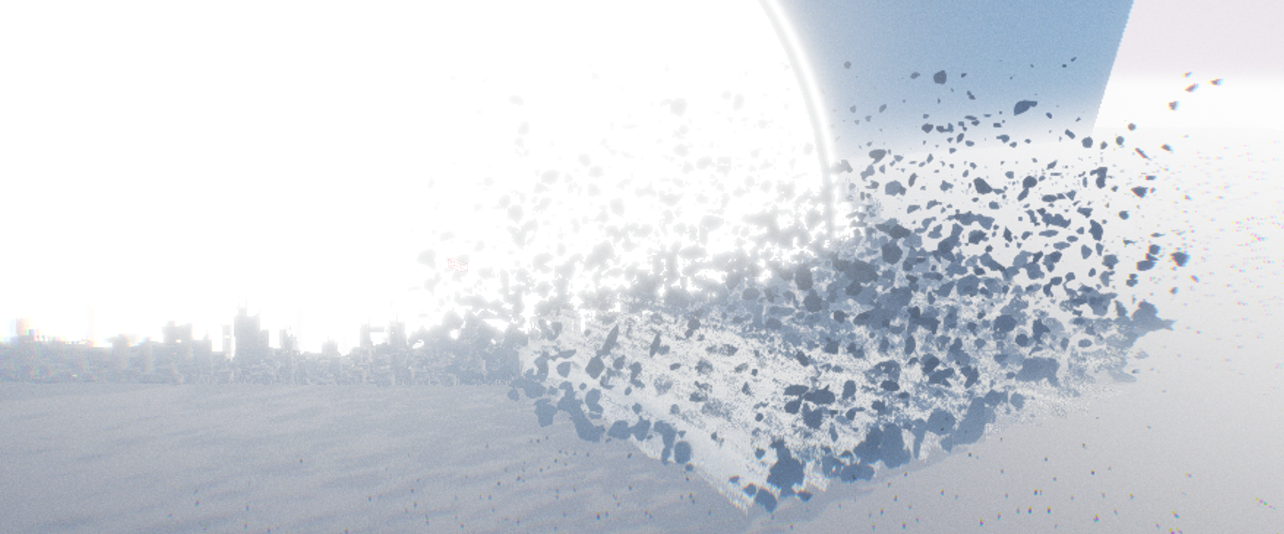
I have recreated a version of the famous Akira Sphere Bomb Sequence from the film “Akira” using Unreal Engine 5. This version showcases the breathtaking depiction of destructive power, as a massive energy wave engulfs the city of Neo-Tokyo in a stunning combination of light and destruction.
Background-Story
To say that this theme has haunted me for years would be an understatement.
I believe anyone who has seen the film “Akira” was deeply impacted by this particular scene. This feeling intensified when I finally decided to read the manga years after watching the movie. (In short, I highly recommended it, as it offers a much more extensive experience than the film.)
Since then, this special shot has never left my mind. I often find myself using that Sequence for small test projects or to explore new techniques and styles. It has become my go-to reference.

This time, I set out with a clear goal in mind
[!GOAL] 🥅 To complete that Akira Bomb Shot + learn new technics and share my process.
Pre-production
As mentioned before, this is not my first time working on this shot, so I had a clear vision in my mind and plenty of references stored.
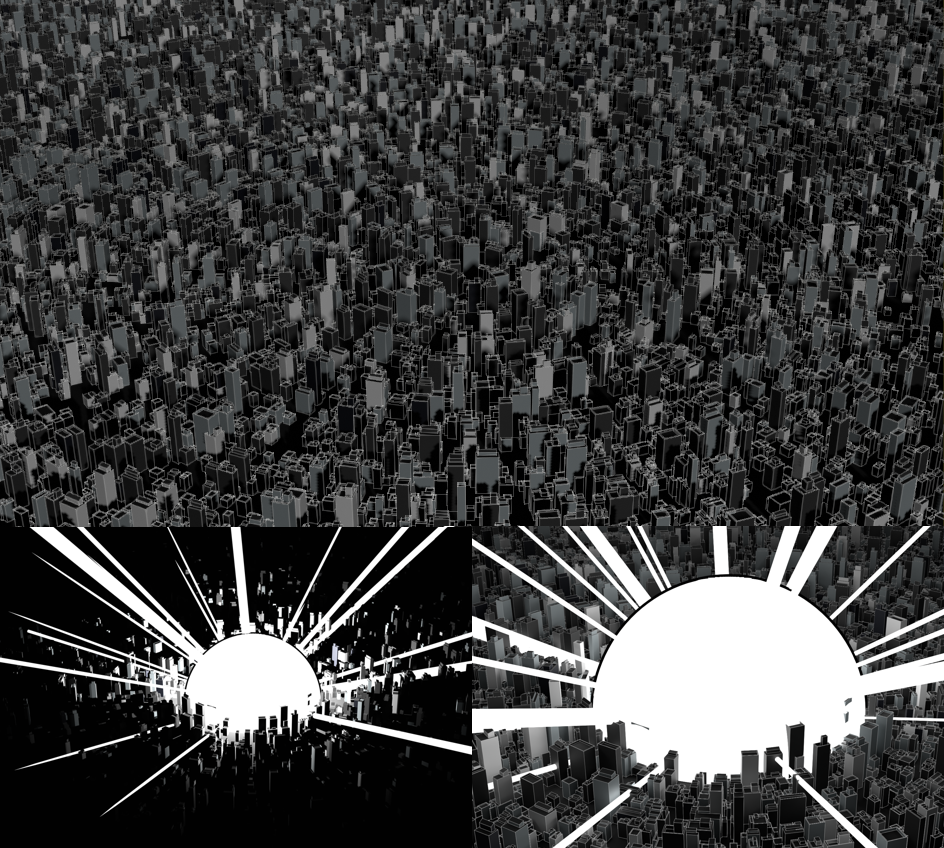
I always envisioned an isometric camera angle, with the buildings starting, the sphere central, and occupying the frame over time. Portraying the immense size and power behind this explosion was crucial to me. Hence, I quickly decided to add a second camera angle to increase and see the buildings in closer view when they dissolving.
I knew early on that I wanted to use procedural skyscrapers for this shot, focusing on large shapes rather than intricate designs due to their sheer quantity.
Furthermore, I had always imagined a genuine distortion and resolution of the buildings, which I planned to achieve using the World Position Offset. I also aimed to delve deeper into realistic cloud and smoke behavior, as I had experimented with them in previous versions using Houdini. However, now having the opportunity to work in real-time, I wanted to test the Niagara Fluids System, which I hadn’t explored before.
## 🎞 References - Overall Scene
Akira Movie 
Production
My approach was very basic but as I start with all projects, tackle the unknown task first. Which meant getting that Deformation working.
🌍 World Position Offset - Building Deformation
- set position from 3D Sphere Mask for the Building Position via Collection Parameter which was then via Blueprint Construction Script set where the white Sphere is
 3D Sphere Mask colored on Collum via white Sphere Object
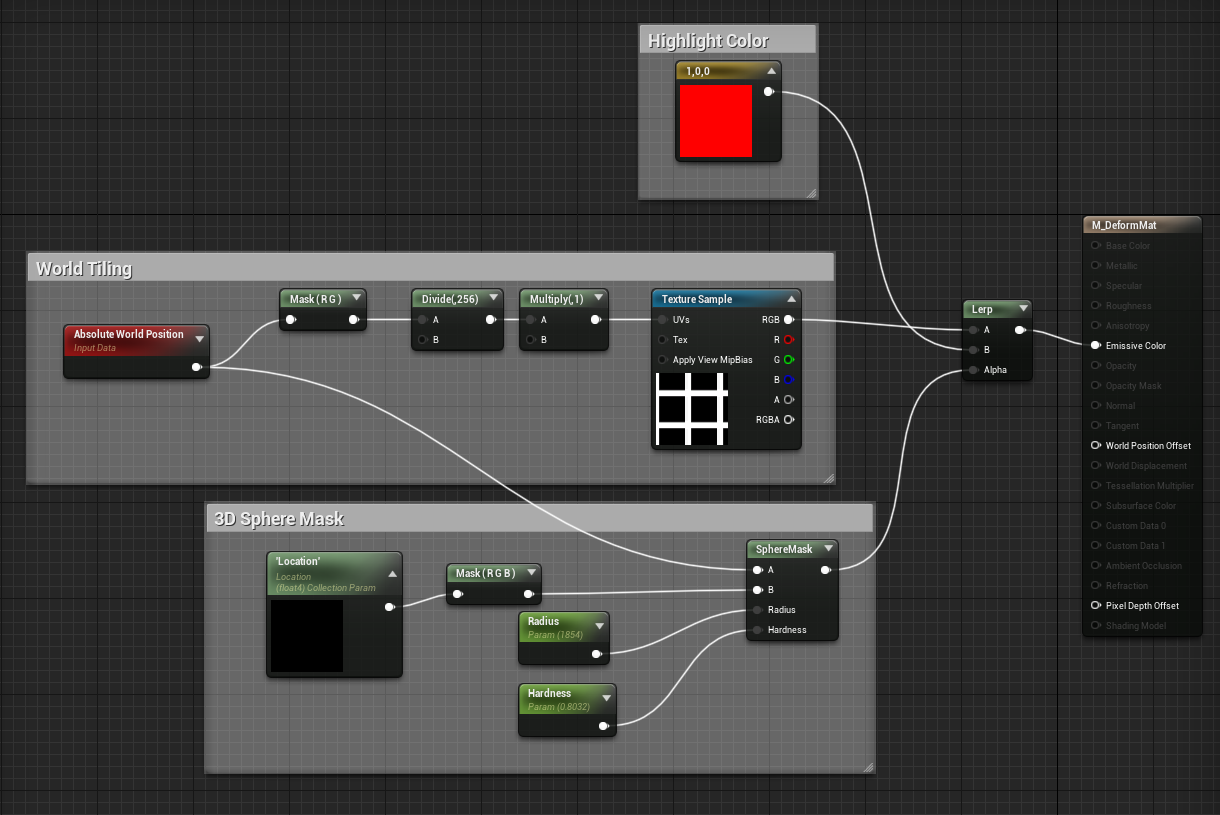 Collum (Building) Material - Sphere Mask
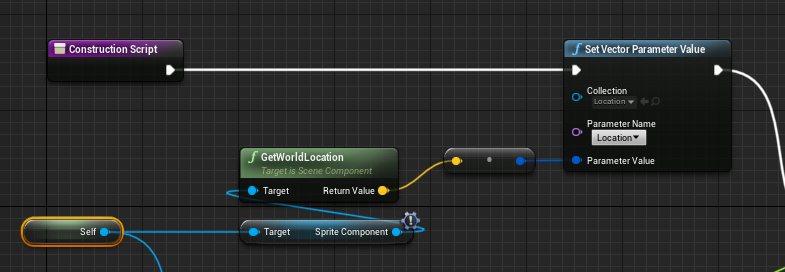 Sphere (Target) Blueprint - Position - Construction Script
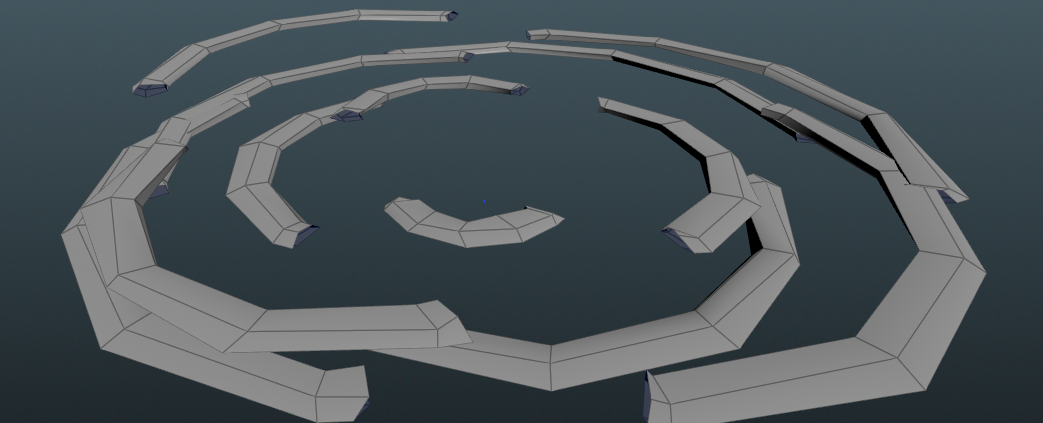
- next was to get the Sphere Mask also affection the Point and move them away from the Sphere. But how smooth that looks depends on the Polygon Resolution of the Mesh.
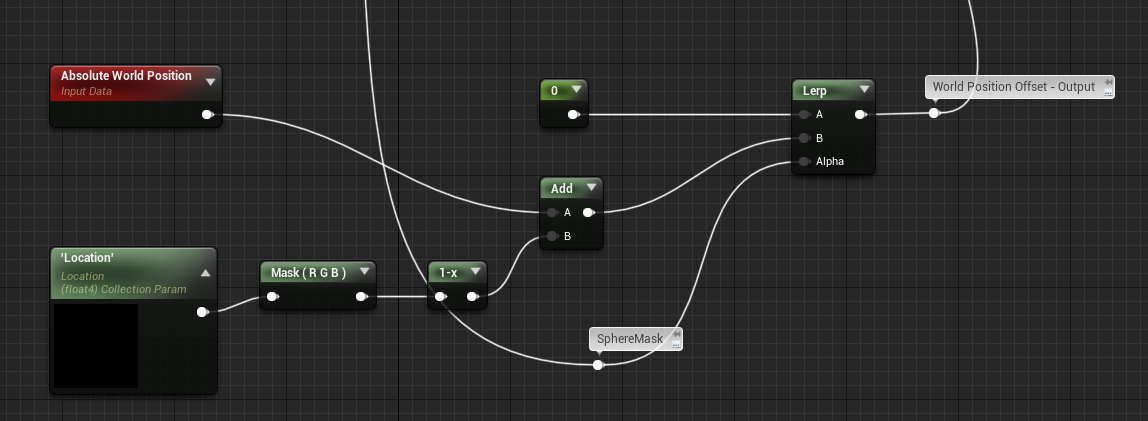 Collum (Building) Material - Sphere Mask Deformation Outwards
- affecting the radius of the 3D Sphere Mask when changing the size of the white Sphere.
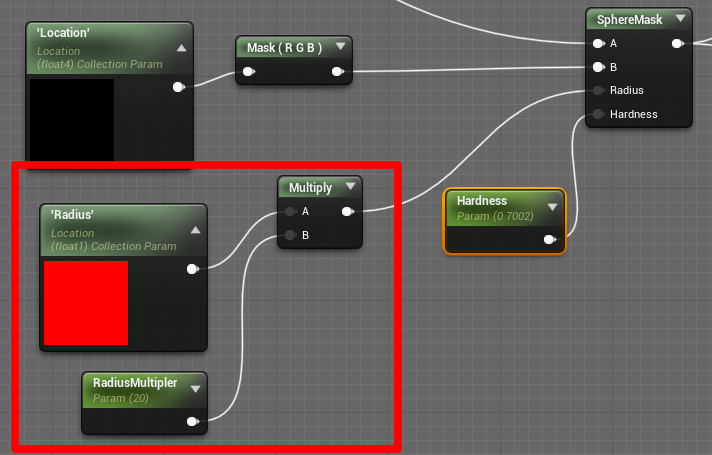 adding another parameter (float1) for the radius * RadiusMultipler
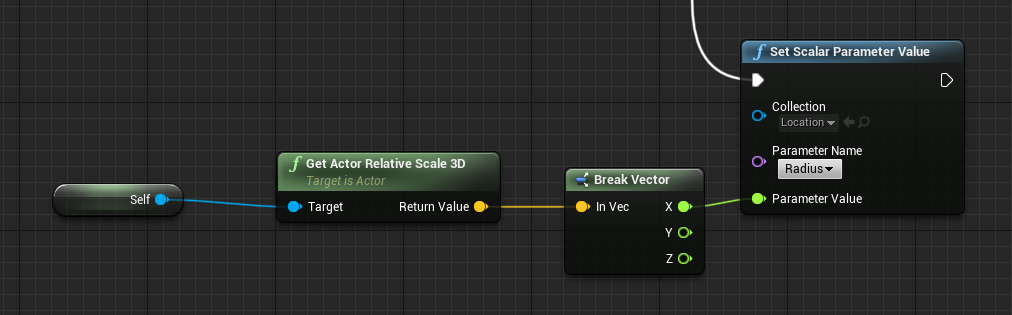 adding in the Sphere (Target) Blueprint - Construction Script - the Radius (only one axis because I know it increases uniformly)
- This is all put together in a Level Sequence and animated via Material Parameter + Scale.
🏬 Procedural City Generation
For the buildings, I quickly know that I wanted/need to have a procedural approach. Since I was interested in procedural buildings before, I was already familiar with some methods.
multiple Methods
Procedural Content Generation Overview In Engine Procedural Creation (UE5)
Prebuild Asset in Houdini / Blender (Geo Nodes) 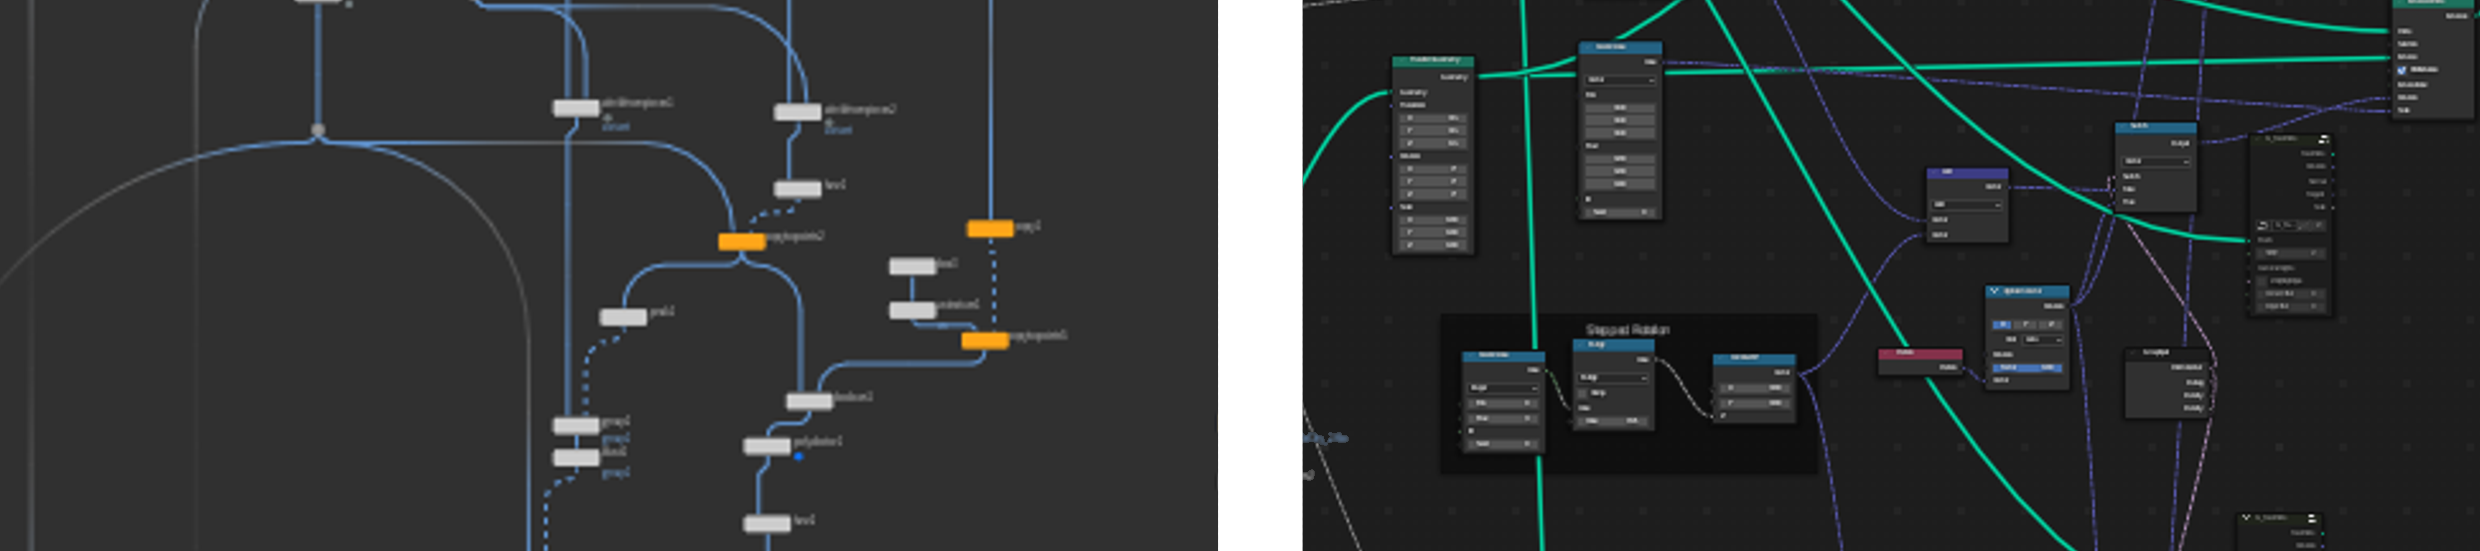
WFC - Wave Function Collapse Algorithm
Wave Function Collapse - Mixed Initiative Demo Online Demo from Martin Donald
Labs Wave Function Collapse Houdini to UE5 a direct method
In Engine Procedural Creation (UE5)
Unreal Engine 5
For the In Engine Procedural City Generation, I needed to upgrade from Unreal 4.27 to Unreal 5.2 which I did in the End anyway.
a good starting point for PCG in UE5 - I used it as well
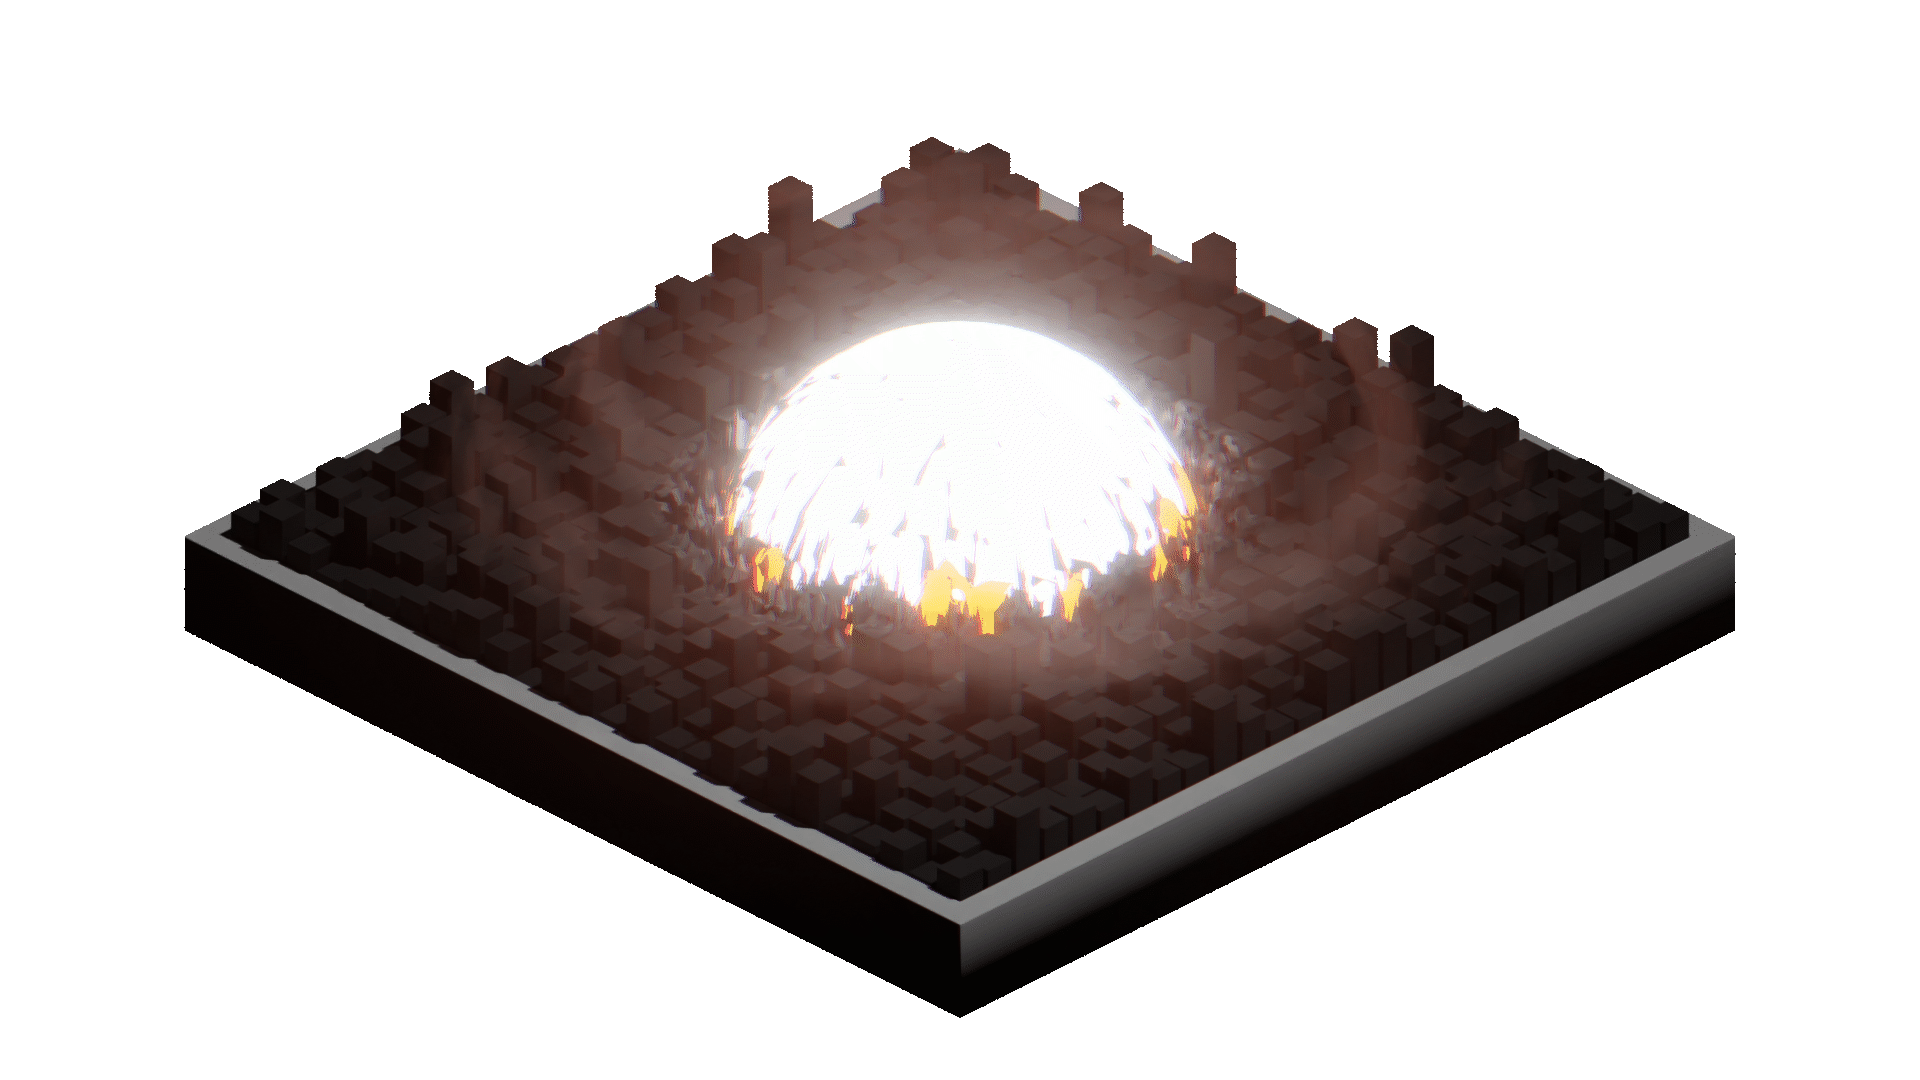
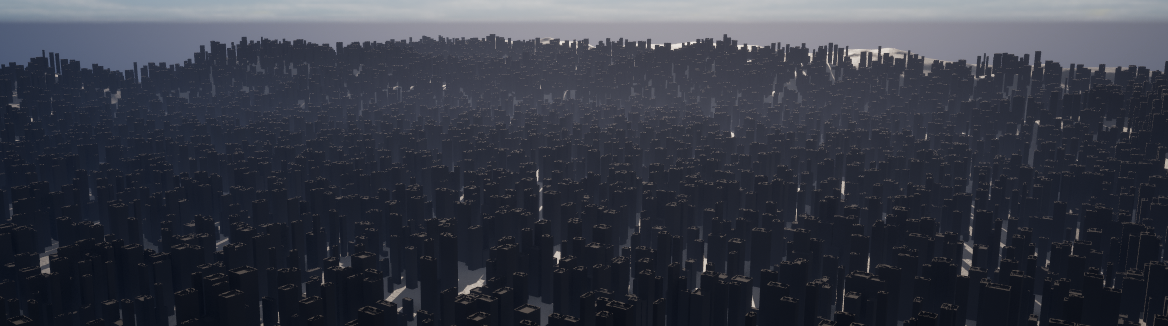
In the beginning, it was really stunning how fast I got something. Here I scatter over the whole landscape (by grabbing the landscape Z Height Position) my default building Blocks (3 different higher poly Boxes with some random height)
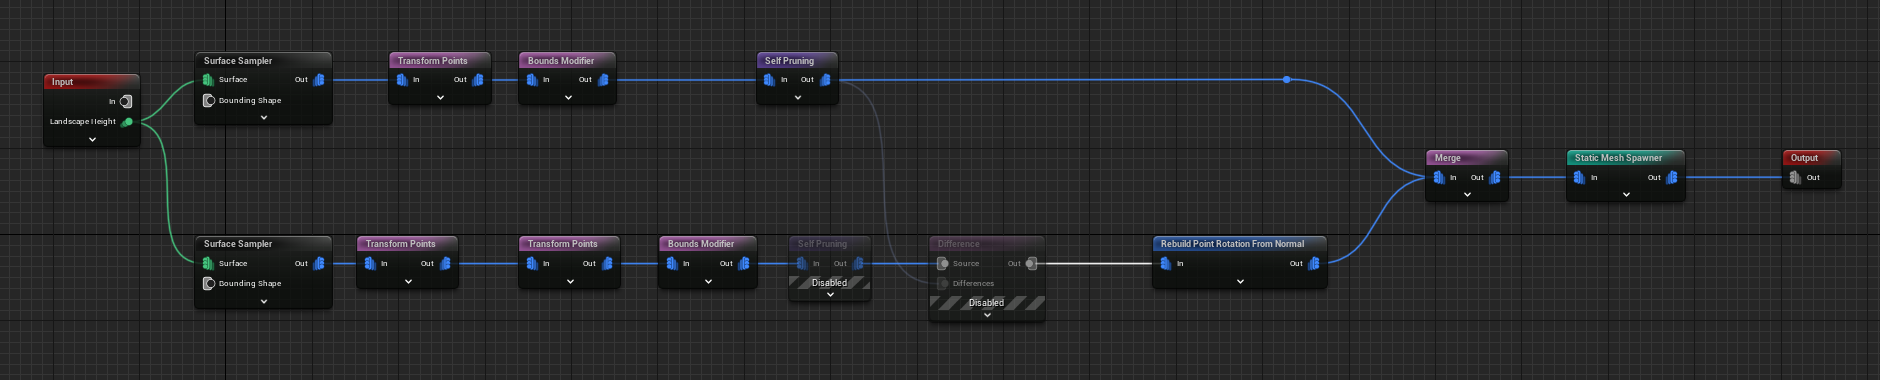
It’s in general quite simple, you place a PCGVolume in your scene and create a PCG Graph in which you can similar to Blueprints (but very reduced and different nodes).
An extremely good point on that is how you can Debug each node. By hovering a node a pressing “D”, you get a cyan Dot on your Node which is then shown in the viewport as cubes, redoing that same step, disables the Debug Mode.
Similar to that you can also by pressing “E” when hovering over a node Enable/Disable a node.
In the End, may was very simple.
ℹ️ But a very big Learning for Unreal Procedural Creation → Enable on all Meshes Nanite
-
Issues without Nanite
Before it was all the time laggy as hell + also then it was hiding objects by distance which result in weird popping.
The result was already very satisfying, especially when moving the sphere around in the whole scene. But I didn´t find some ways, that I could achieve some major points for me:
- more control over the random height
- more control over the space between the buildings
- rotation to a center point
Why I moved on to the next section.
Prebuild Asset
Blender (GeoNodes)
BLENDER
Some weeks before the start of the whole Unreal Akira Bomb Project, I did already a very rudimentary version of this Building Setup in Blender with Geometry Nodes, which grow my interest in a proper animated scene of that.
That was the spark of that whole Unreal Project.
 2023-04-01 - Blender Geometry Node - Building Setup
In short, it was only scattering three different kinds of Boxes (which were also randomized in scale) on a circle object + making some center orientation + stepped 90-degree rotation.
Source File of the Geometry Node Building Source File of the Geometry Node Building
Houdini
HOUDINI
Because in Blender everything still overlapped and had no easy way to increase the polycount (what I need for the deformation of the WPO) by the height of the Buildings or add later UV for each of these Buildings. I decided I recreated this in Houdini in a very similar approach.
- Build 3 different 1x1 Box House
- created already a Separation of roof UV and Walls(Height) UV
- scatter some points on a plane
- set point to direction to center
- added steeped 90degree rotation
- added randomized pscale/scale attributes to point
- copied box house to points
- created a second scatter point with the same steps but different randomize
- used first result to check for overlaps with the second scatter result
- removed these and combined but results
- fill in between spaces with smaller building (same method) +combined that again
- new added on the highest buildings some additional deco stuff (which was also boxes)
- adjusted Height UVs by the pscale + height scale
- Done
step through the Houdini Building process
☁️ Niagara Fluids - Clouds Motion
One completely new item I never got around to trying out in the last few years was the Niagara Fluids from the last Unreal Engine versions.
I have always liked to play around with other fluids systems whether in Cinema 4D, Maya, Max, Realflow, Houdini or Blender and so I gave me a limitation only use the Unreal Engine Niagara Fluids to make all smoke / clouds in the complete sequence.
First, I opened some Niagara Fluids templates and changed some values to see how they behaved. Surprisingly, I found that they were divided into two different emitters. One for source emitters and the other for the whole fluid behavior. Thanks to my previous long experience in Unreal Niagara System, it was very easy to create a source emitters to create any kind of motion.
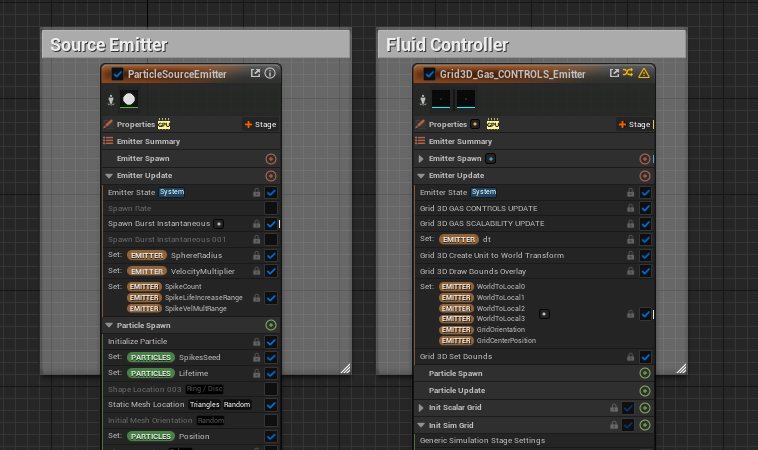
Niagara Fluid - both Emitter
Mainly I used Forces to drive the Source Emitters Particle and animated these over the Sequence Timeline.
More Issues I had in the beginning with that the Startframes where all only points that wasn´t merged like real clouds, which I tried by making longer sims before they are pre-moved via Force. But I got this later in the process solved by spawning the particle from a static mesh (which was only some place planes), before I use the Torus Location with additional Curl Noise Offset.
Final Source Emitter Spawn Mesh
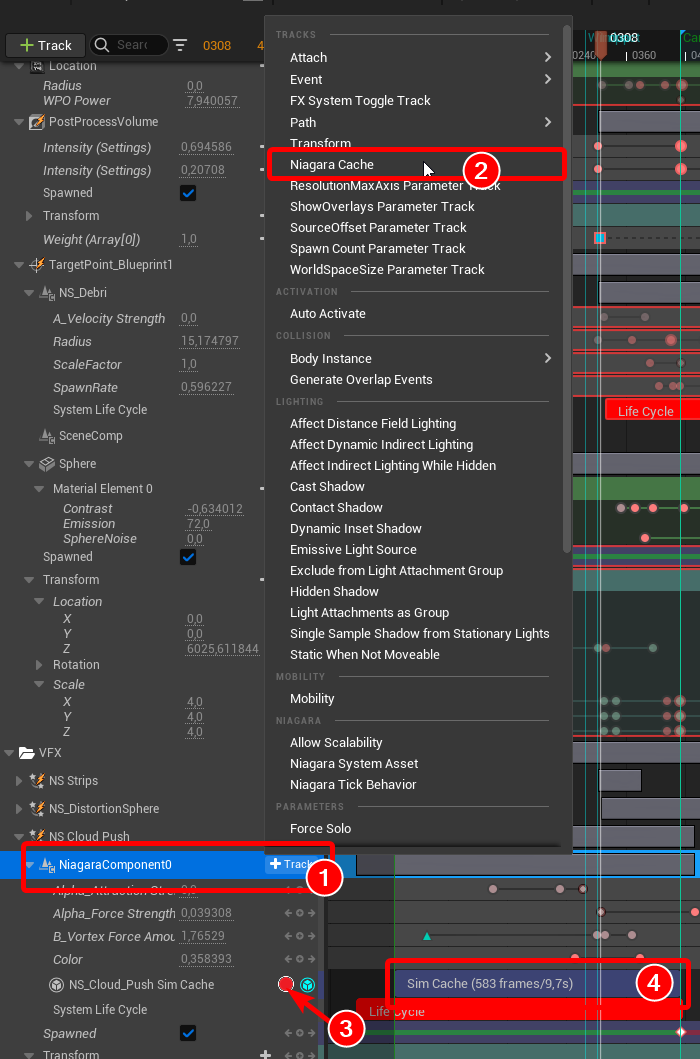
Niagara Cache
Also helped later on the Sequencer the Niagara Fluid Cache function. Where you bake you simulation down and can modify a bit this Cache in stretching, offsetting, etc.
In general I struggelt in
iterations over the Niagara Fluid System
In general, I struggled with the resolution and detail from the clouds in both shots.
Especially since this goes very fast on the GPU depending on I increased the “Resolution Max Axis” of the Niagara System (which are the voxel of the sim). At the beginning I still used the Uniform World Size, but I notice at the latest with the second shot that I should split them into the individual axes.
For the second shot I use a different Niagara Fluid System from the beginning, because I don’t have to calculate the full circle around the sphere. But above all, the World Space for the different axes has helped a lot because this shot is very long, but not veryhigh.
Which was perfect to reduce the Z Axis and increase the X Axis.
 Sideview of the second Shot
Challenges - Struggle
🎵 SFX
For the final release, the video would need audio or sound effects (SFX). However, this is an area where I had my weaknesses and lack of experience. So, I recognize in the process of that Sequence that this poses another completely new challenge for me.
🆓 For that I looked into some free SFX sites
| Mixkit | Freesound | Pixabay | |–|–|–|
I started by putting some random SFX together in the Blenders Sequencer together, but I haven´t found everything that I wanted. Also, they definitely needed some tweaking because some were why to long or short in length and I think too high (if that is the right term in that context), etc. Also, I needed really fast some rough timing which I did in Blender by importing the Image Sequence from the Export Unreal Scene via Movie Render Queue.
After that, I looked at some tools that can create SFX and audacity came right to my mind. (With worries and fears because I was often struggling that tool. ) But with a bit of help from a Friend (programmer + musician, best combo for that) we create something in it. But he moved me a bit away from that so that we ended up in Reaper, we I created most of these ending noise/beep(peep) SFX.
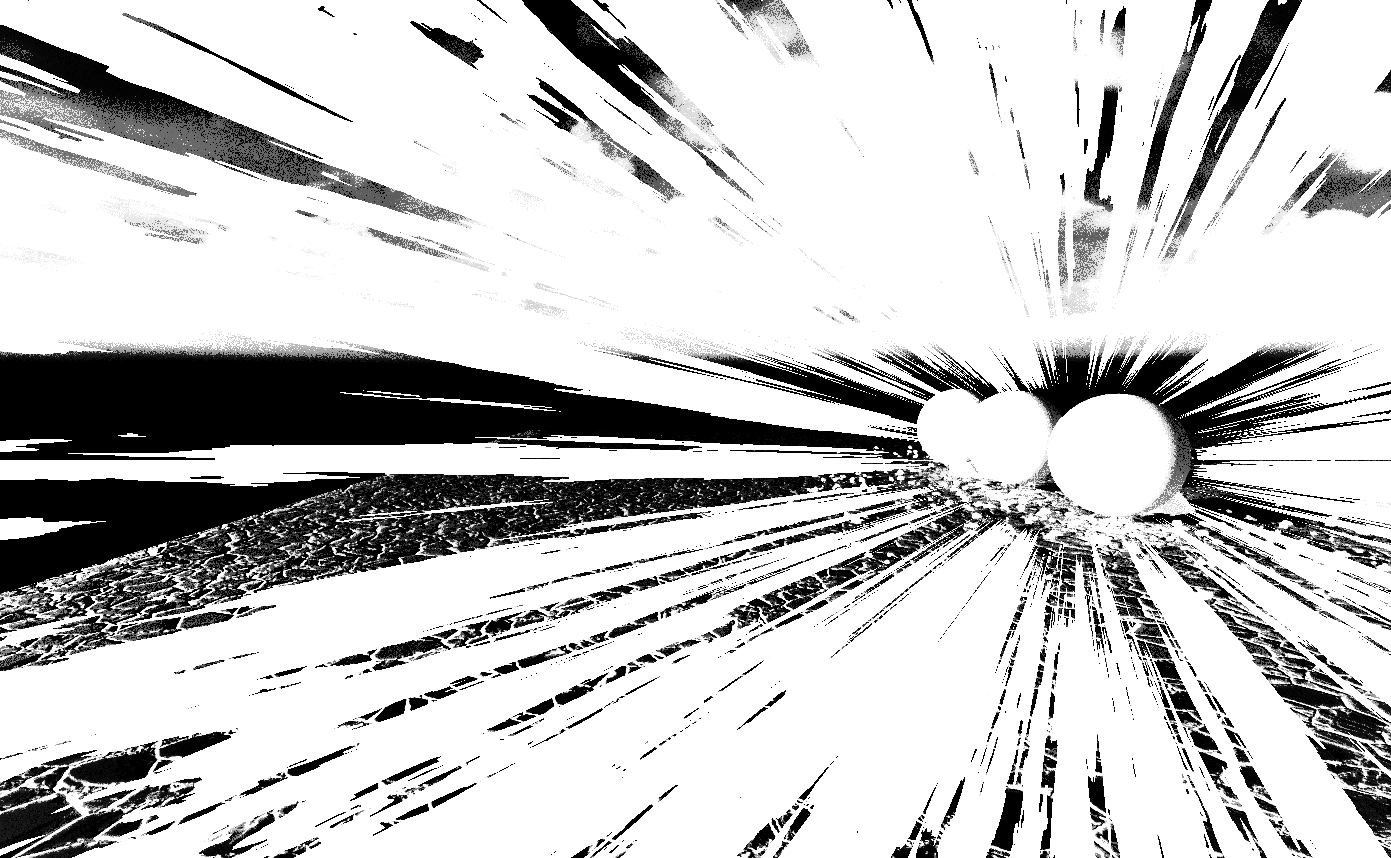
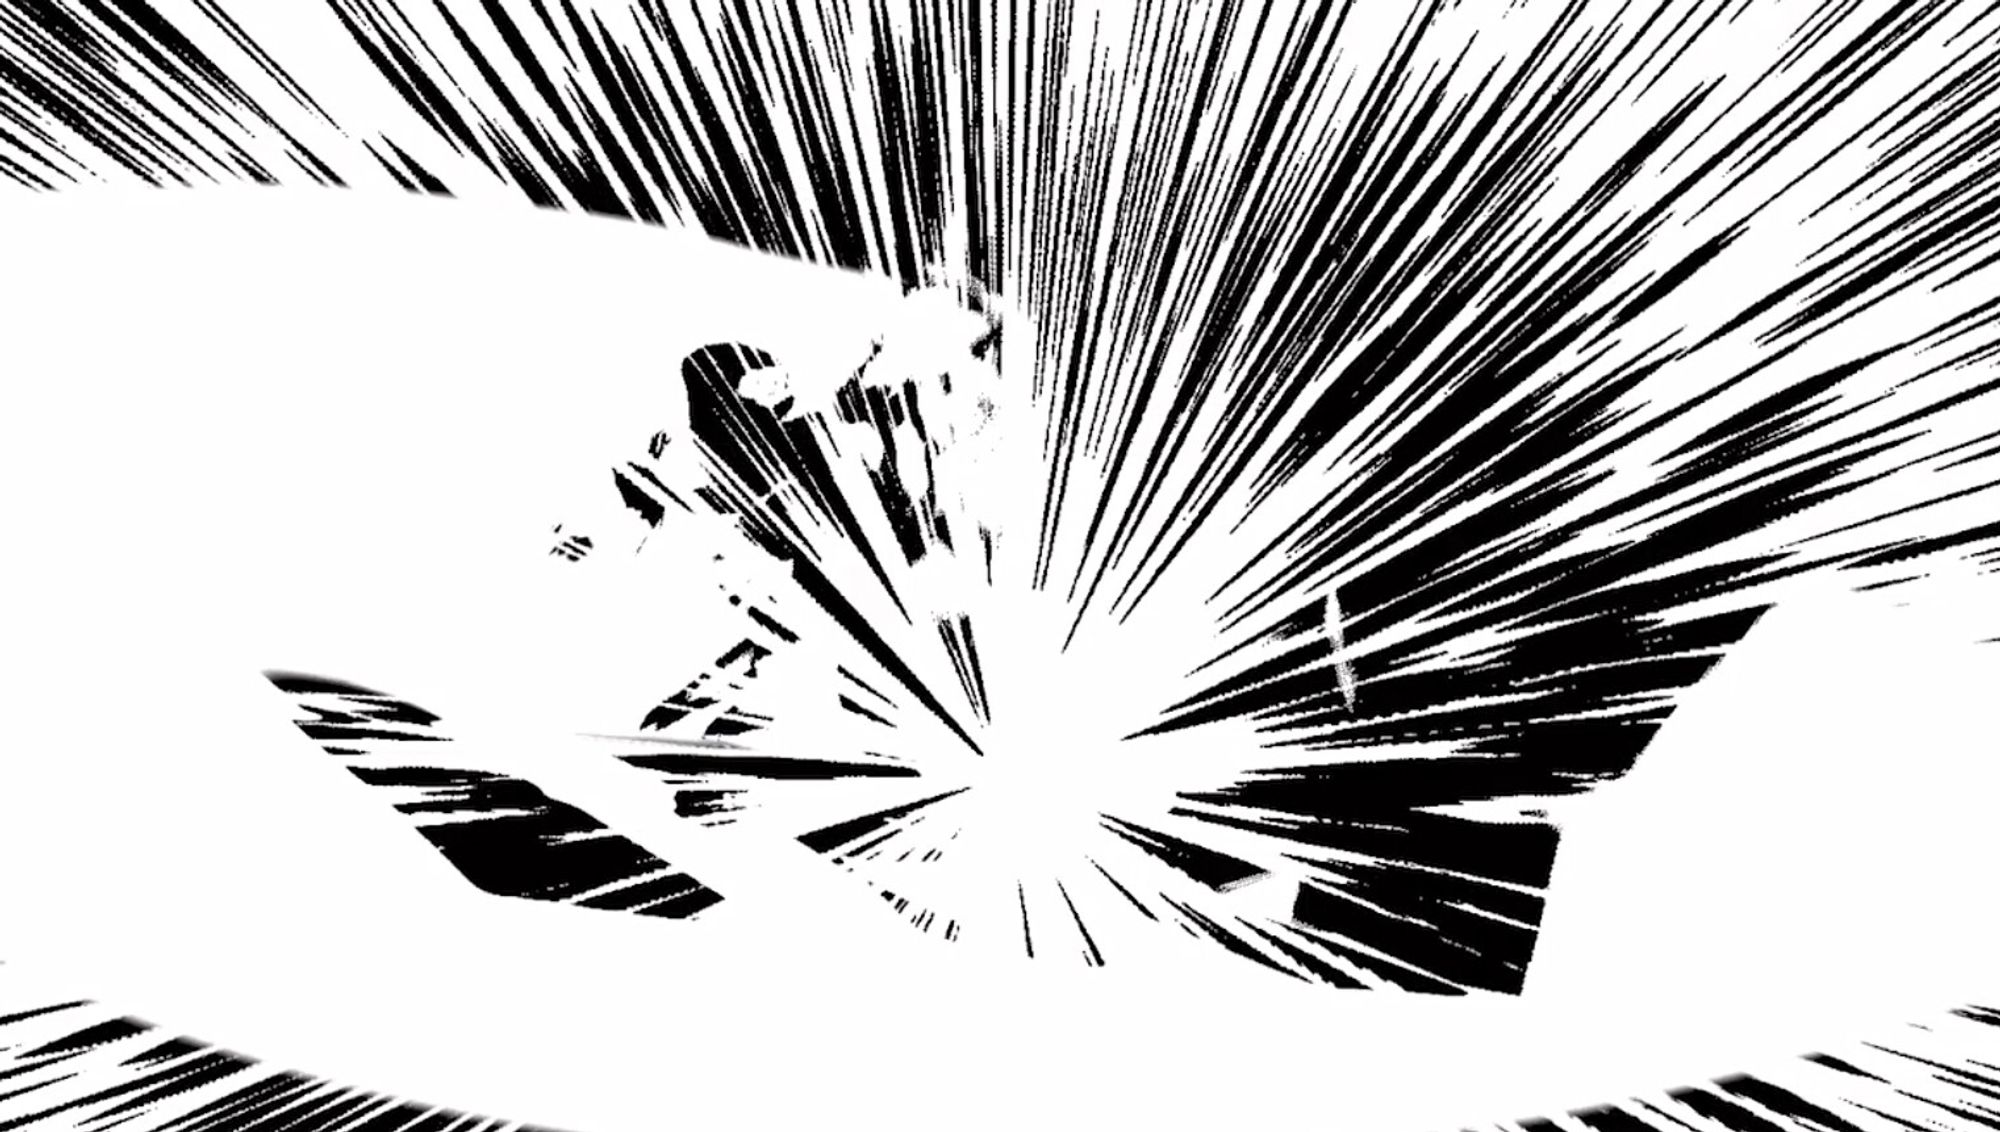
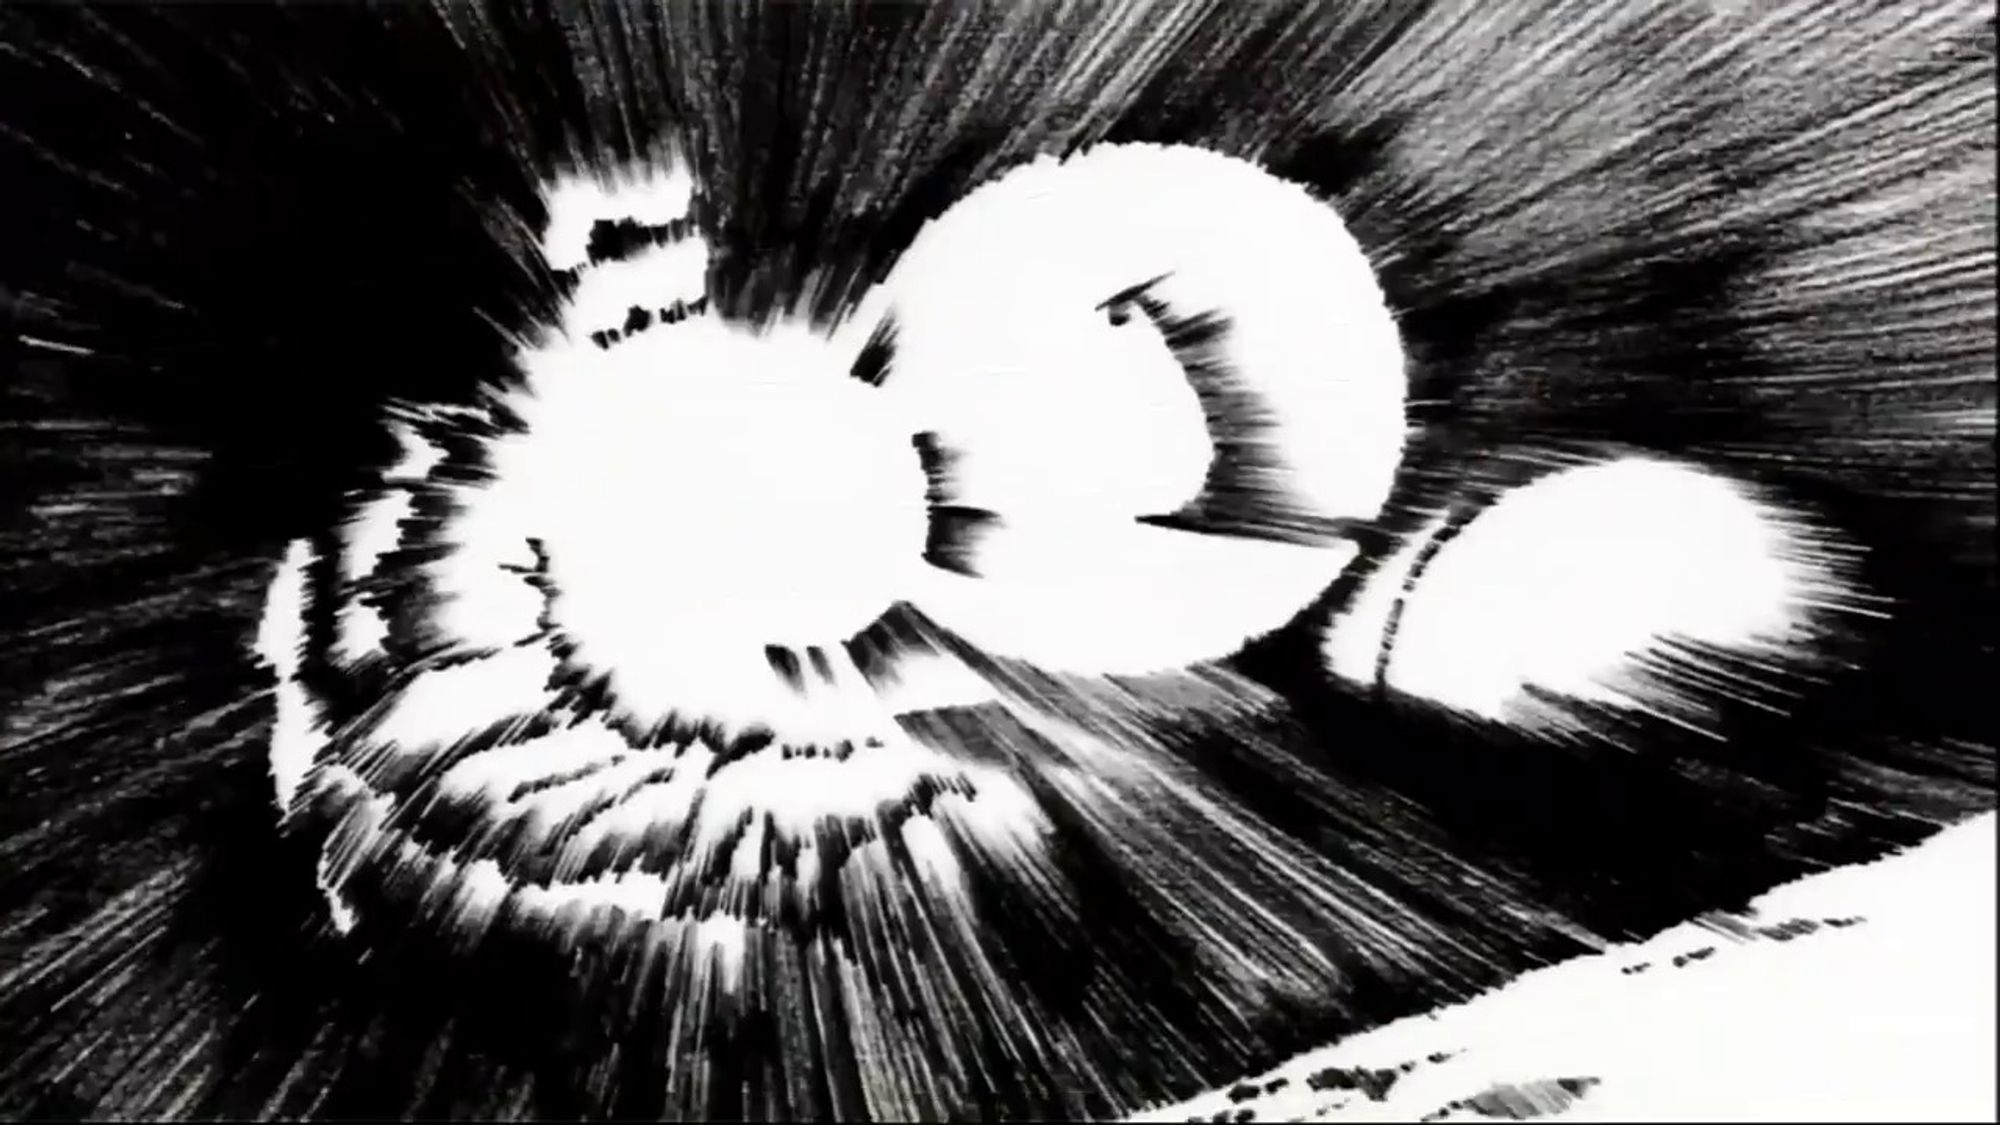
💥 Impact Frames
Since I love Impact Frames, I was very early ready to invest more time in it as well.
I had also been playing around with post FX shaders for a few weeks before, especially for impact frame moments. Even if I had a good first approach with it, these results were always too static for me. Which is why I switched to hand-drawn impact frames during the course of the progress.
Or better I mix of both , I made my drawing with transparent background and used the invert flip from the post FX shader and the InEngine footage.
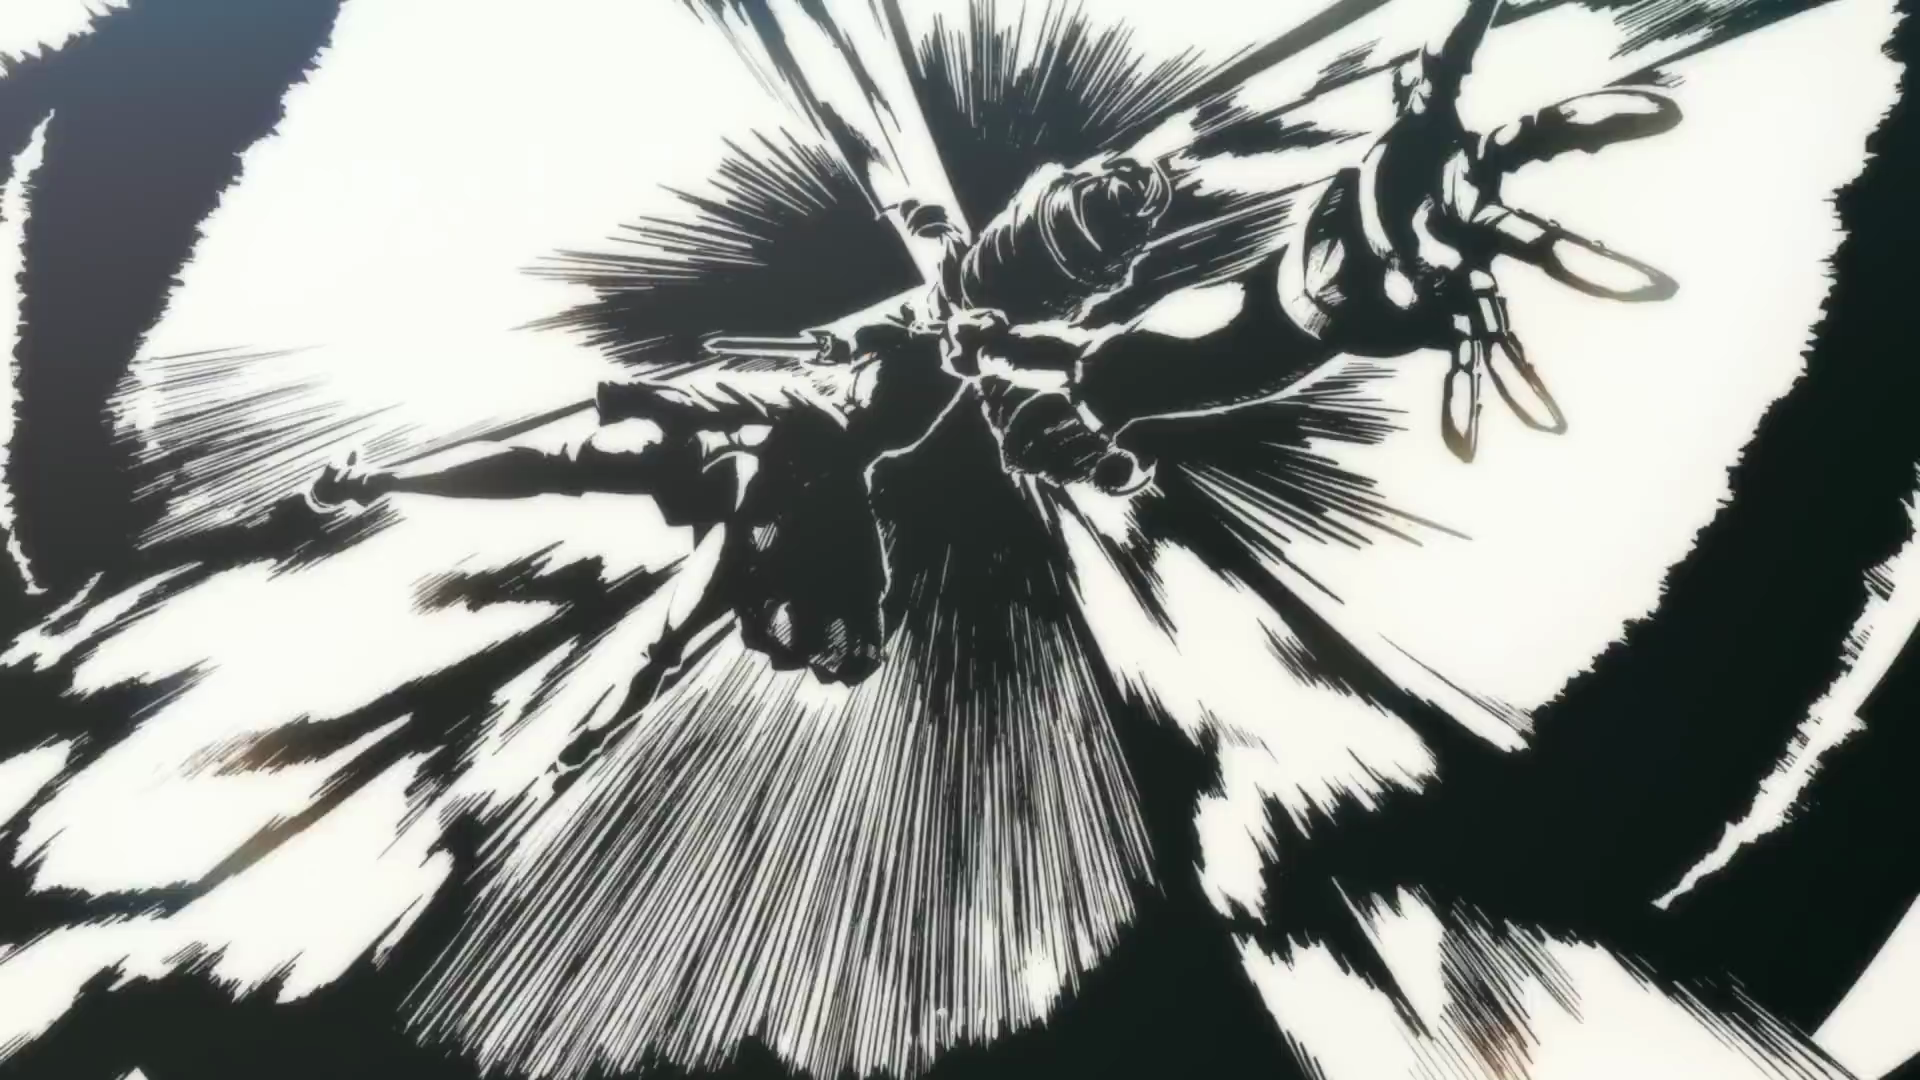
### Reference - Impact Frame
Engine Shader - Post Effect
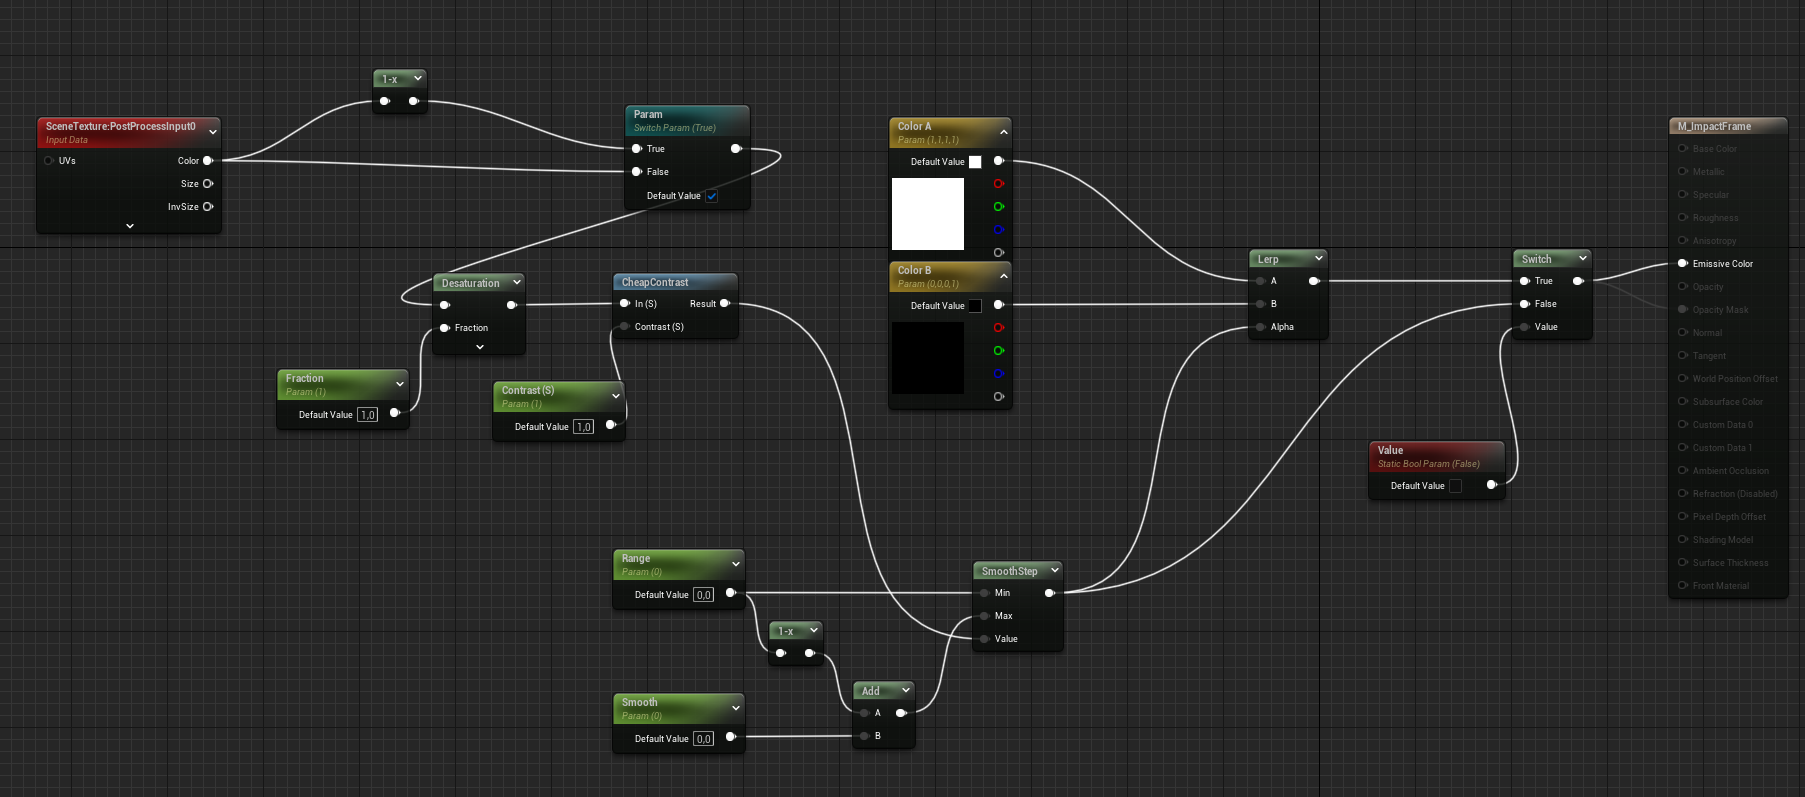 Shader Graph - for the Invert Post FX Shader + additional Parameter for contrast, saturation, etc
 Black without EyeAdaption - White with EyeAdaption
In the beginning it was very important for me that I could animated some of these values also over the sequence, which I shared some parameters and added then in the Global Post Process as “Post Process Material”.
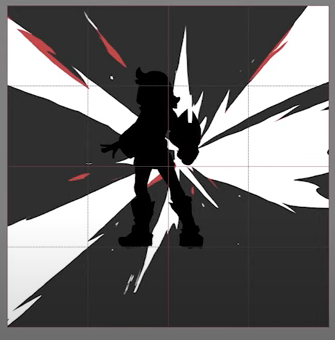
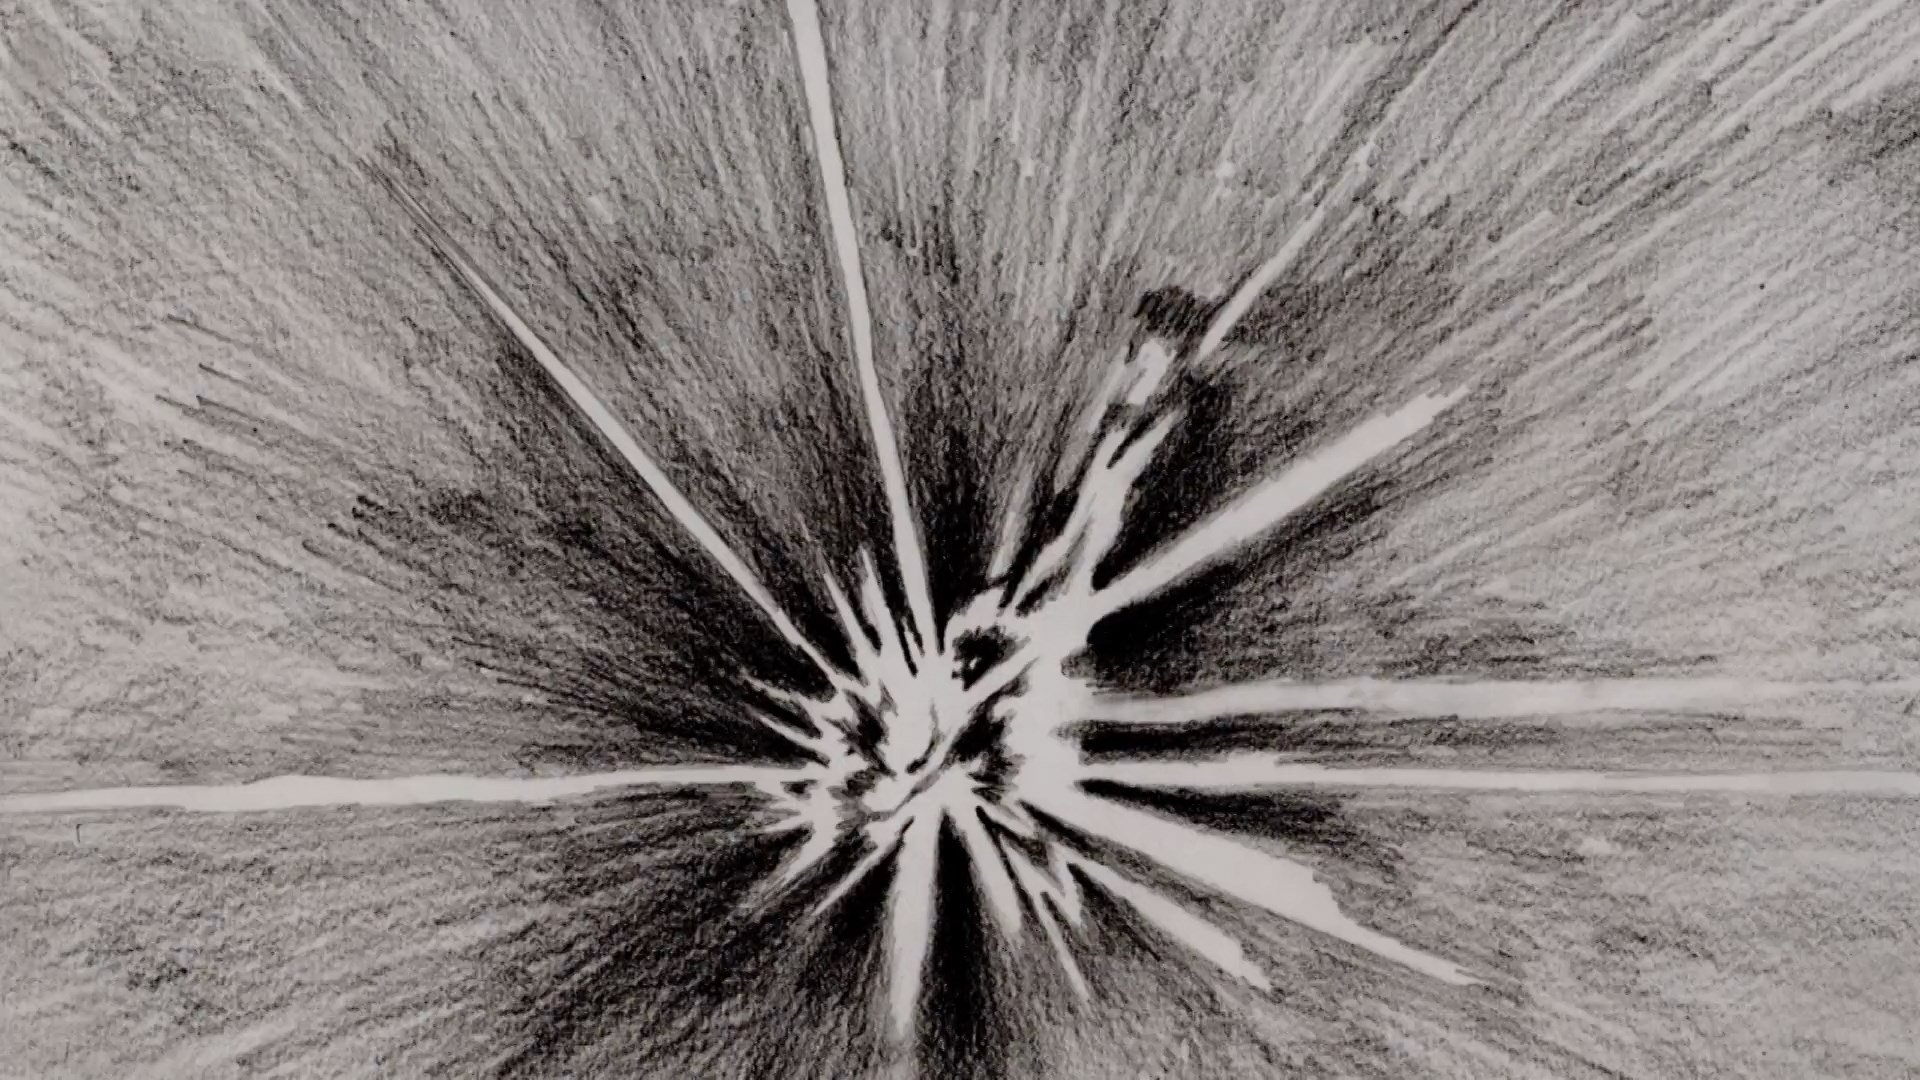
Drawing
The Drawing Process was quite I started with a still inverted Frame from the Engine and drew over it.

drawing process - starting with one rendered frame - first version | final version - with out Sequence blow | quick tablet drawing test
⛅ Scene Lighting
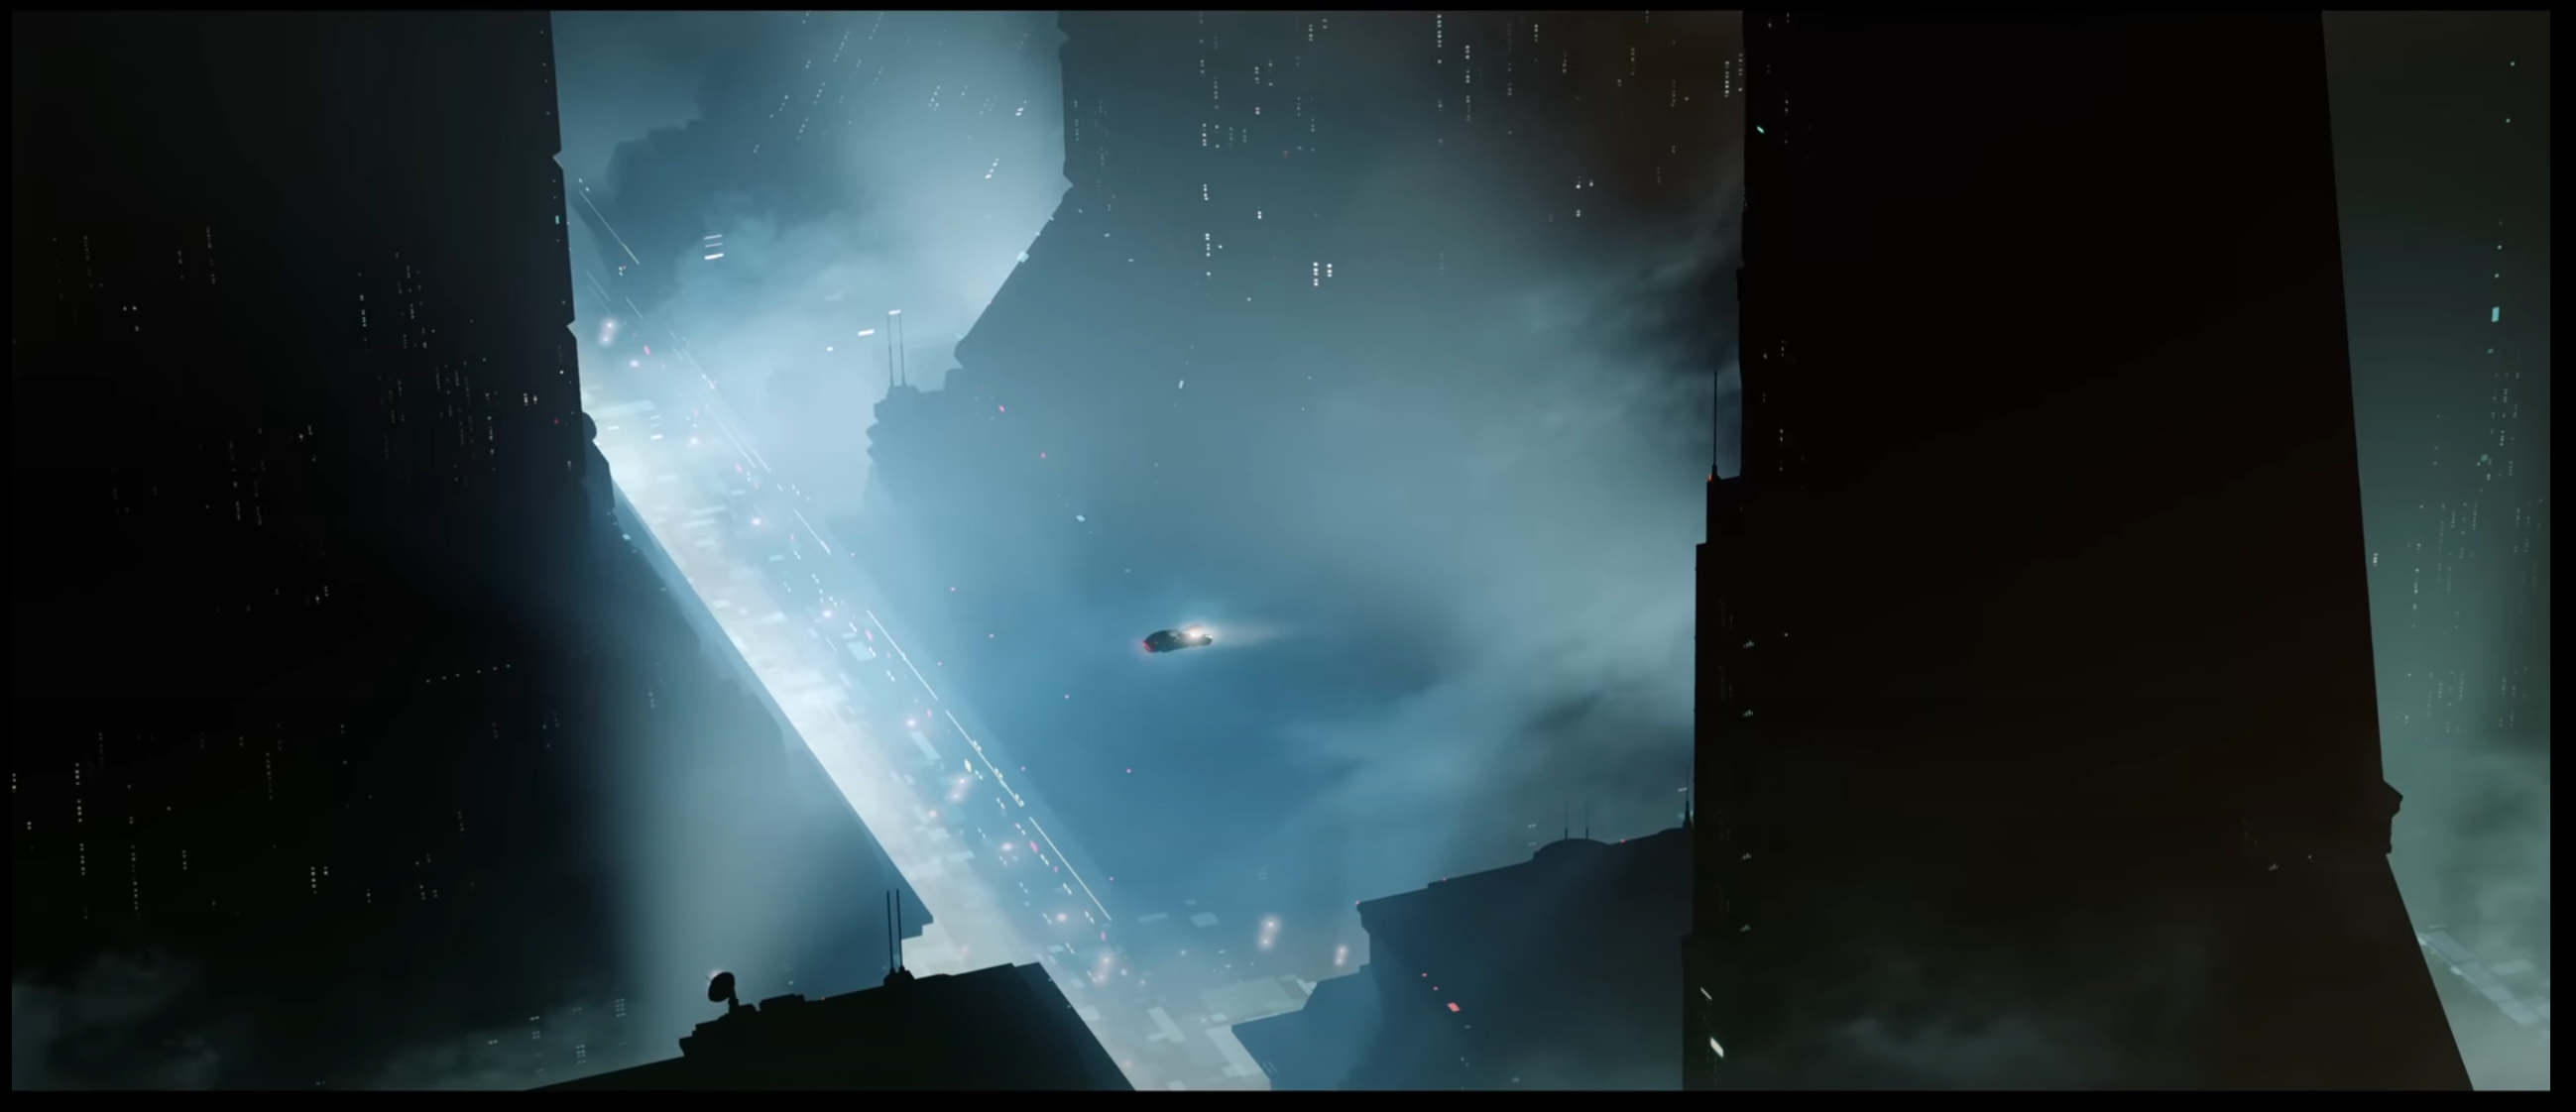
For the Scene Lighting, I had at the beginning really a direction in my mind. From the original Scene Reference, there is a different version already. The Movie has a more daylight approach and gets darker over the sequence. For the Manga, it´s always quite dark but still, there are some shades visible.
This is why I started to collect some different City Lighting Reference. Still, after that, I wasn´t so sure which road to go.
### Reference - Lightning
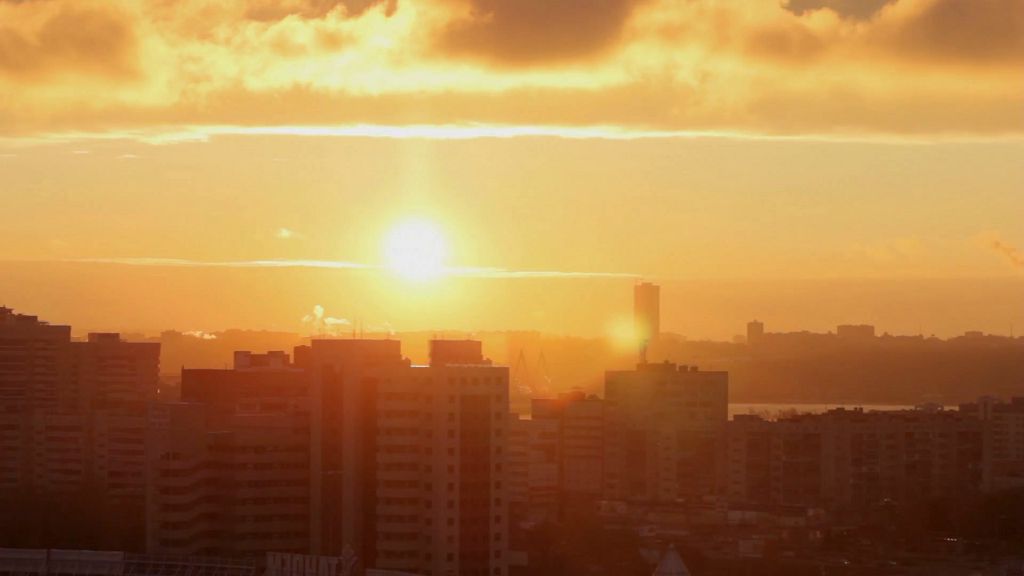
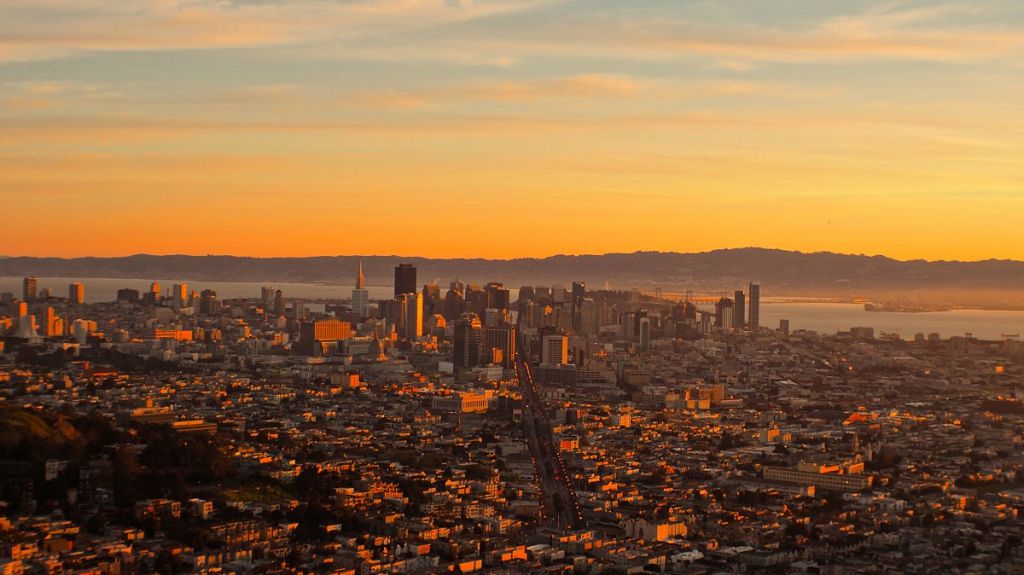
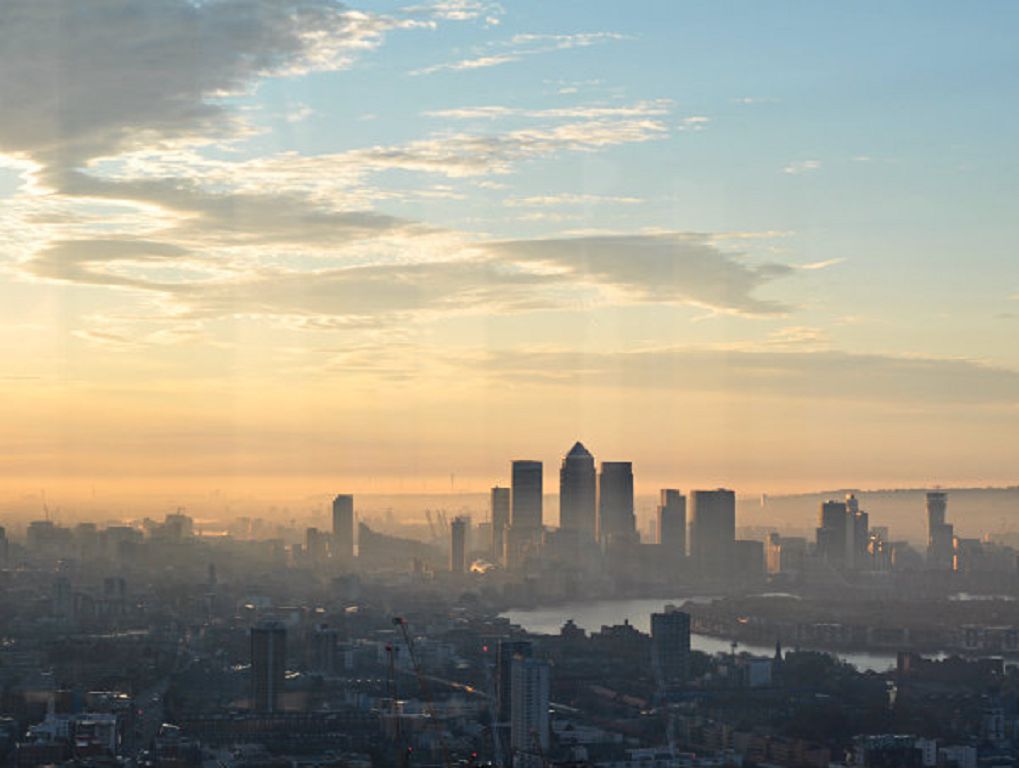
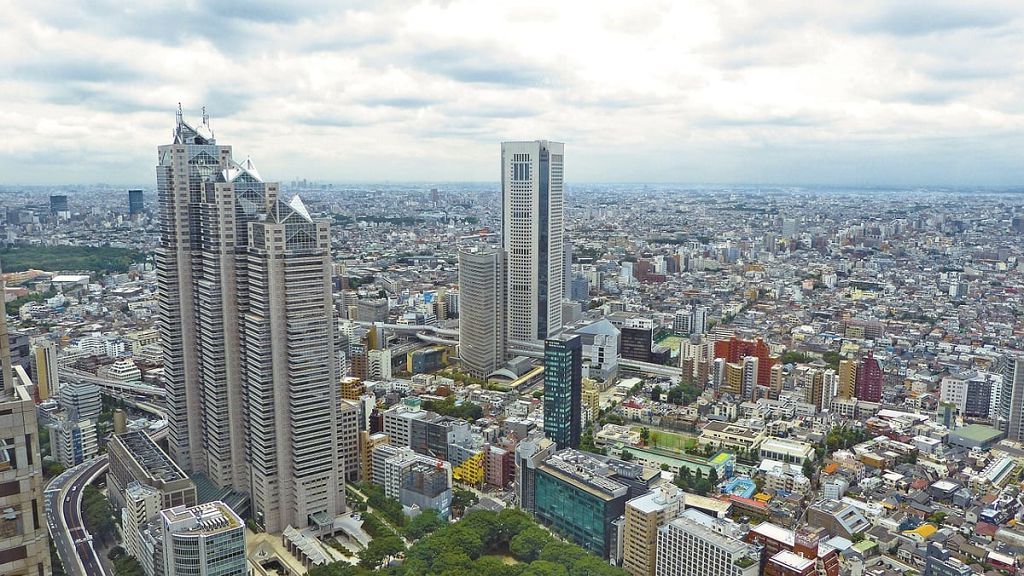
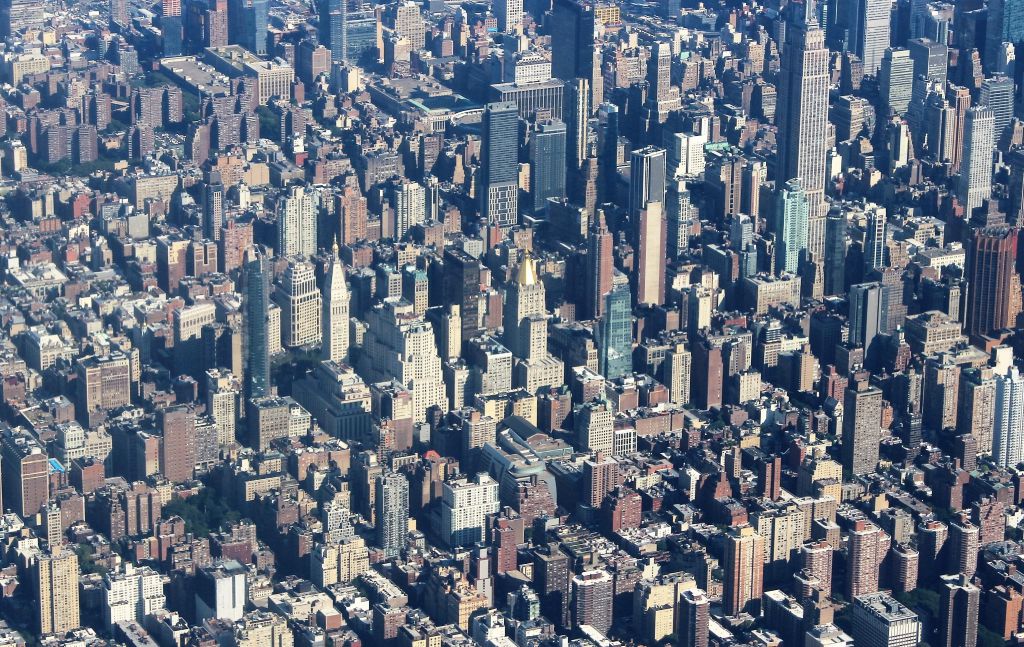
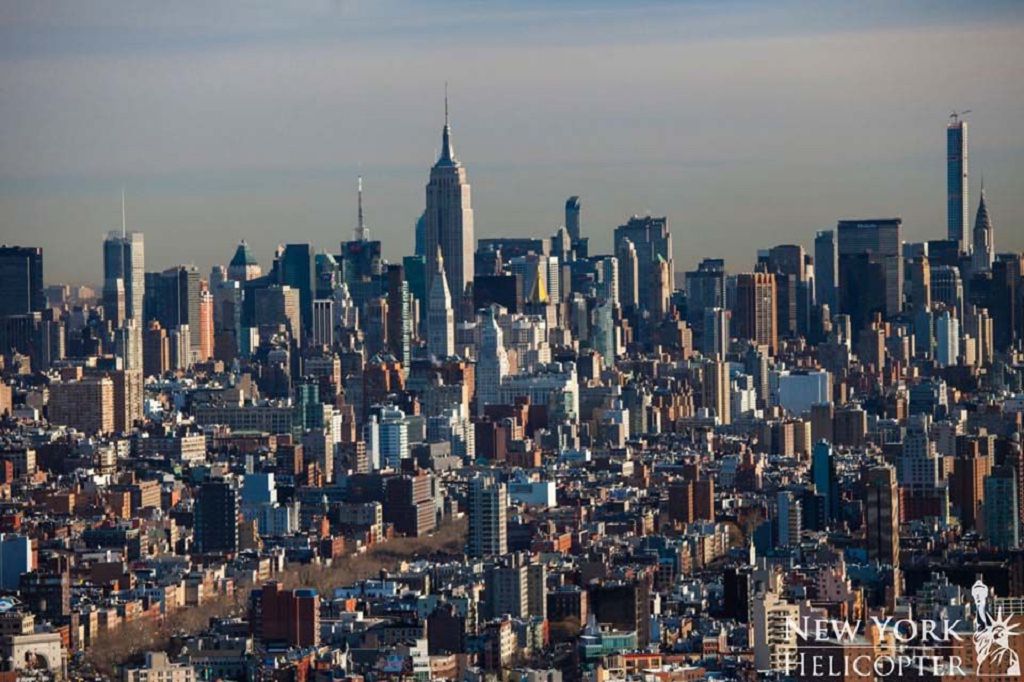
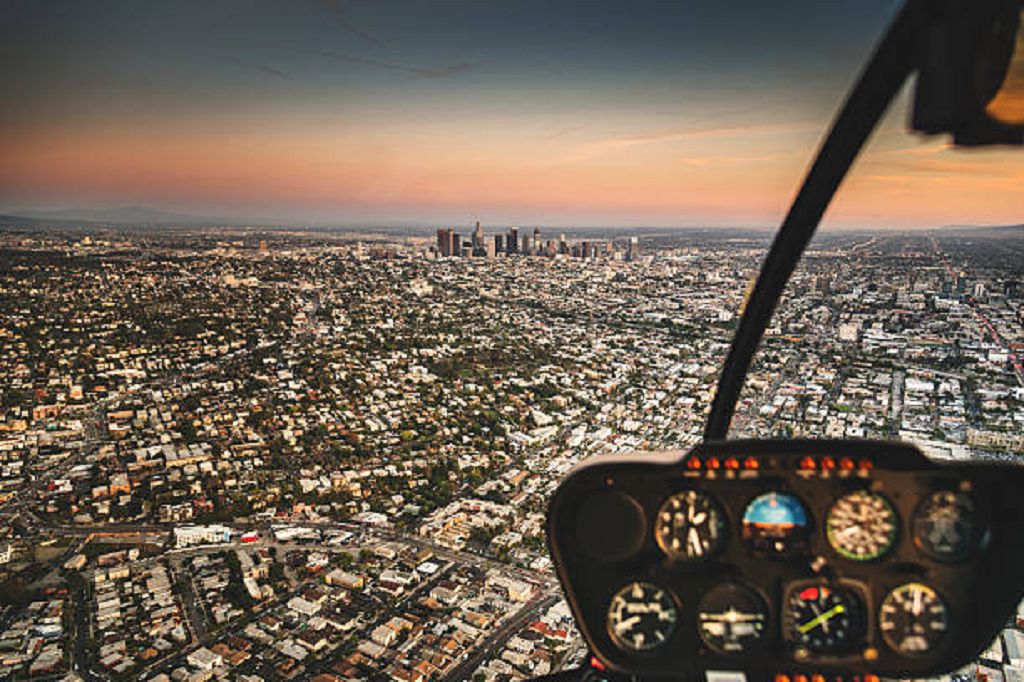
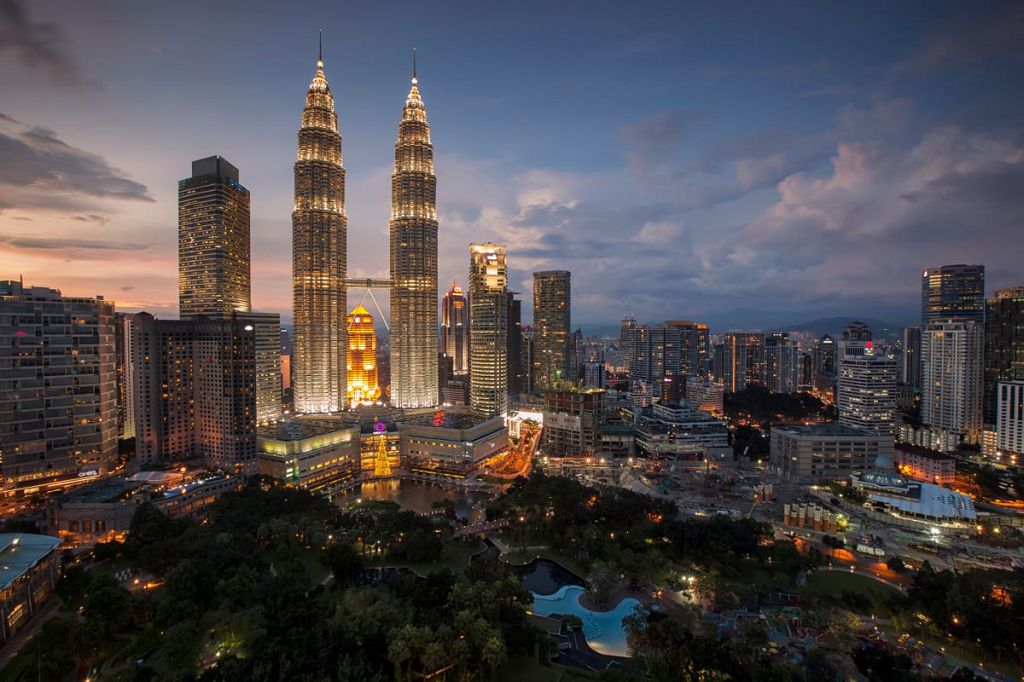
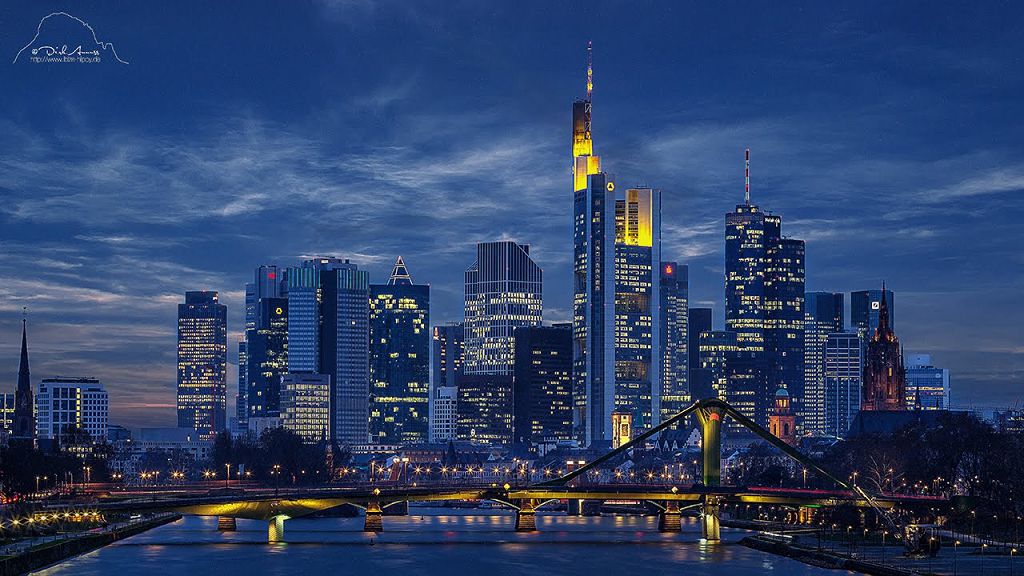

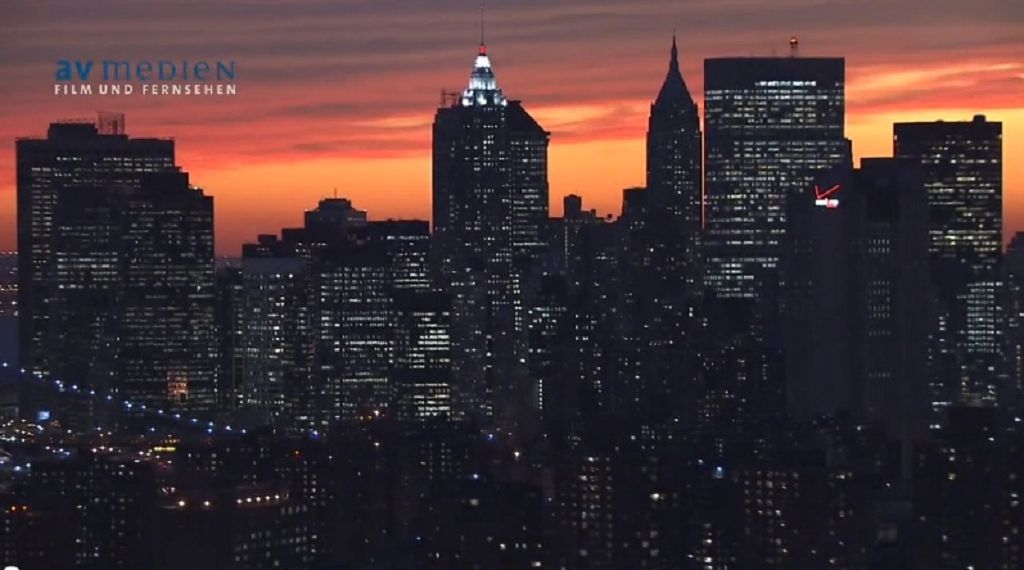

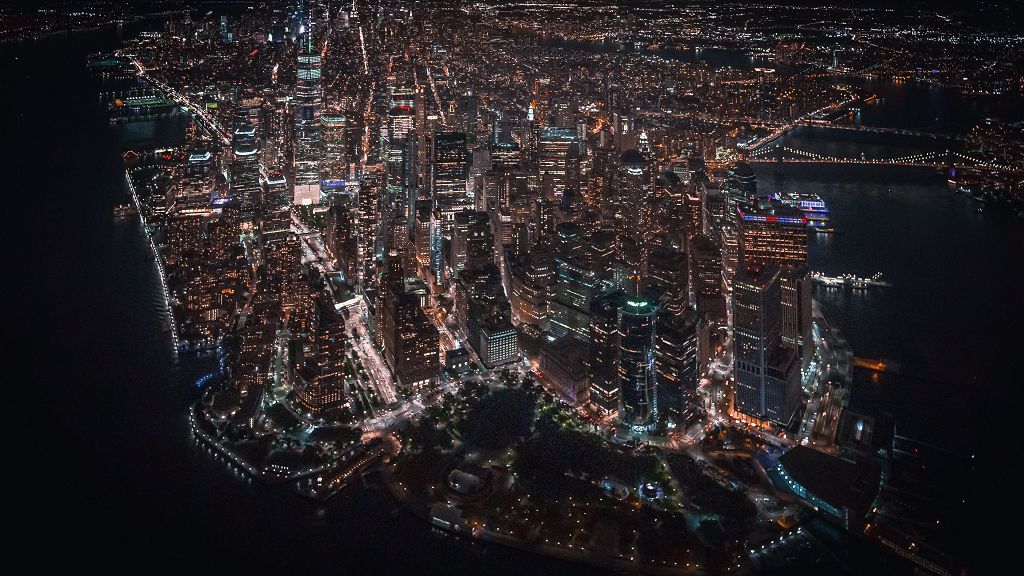
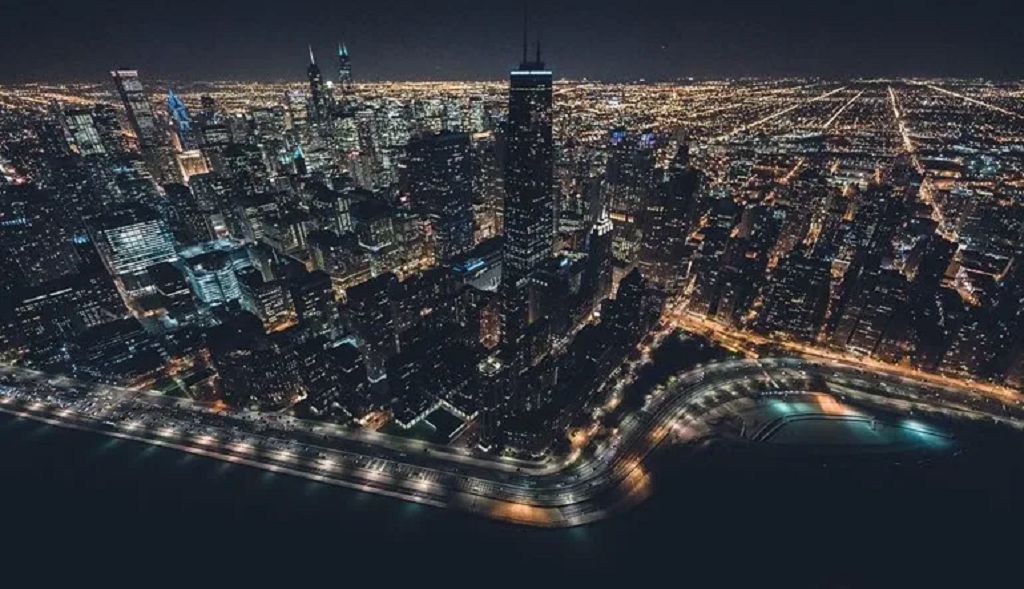
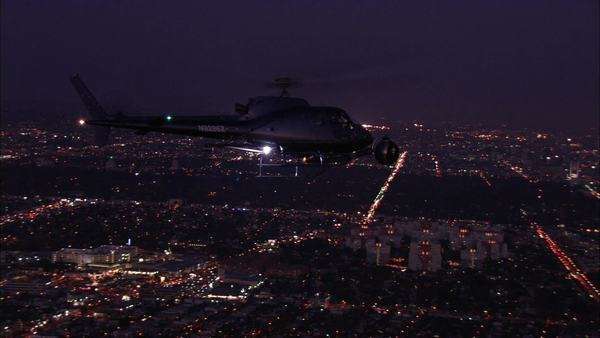
Lightning
Why I played a bit around in Unreal with the AWESOME Lighting Shortcut. You need to have DirectionalLight placed in your Scene.
With that, you can find fast and easy your right Light Direction/Mood and continue on that.
In the end, I used some Light from behind but also daytime because the Bloom and Eye Adaption made the rest of the Scene anyway dark next to the Bright White Sphere.
Post Production
Because it was all done in Unreal there was not much Post Production, I only add in Davinci Resolve a bit more Zoom + Motion Blur around the Impact Point and replace the inverted Post FX frame to the still painted Impact Frames, extended the Start + End Full Frame Color and added the SFX.